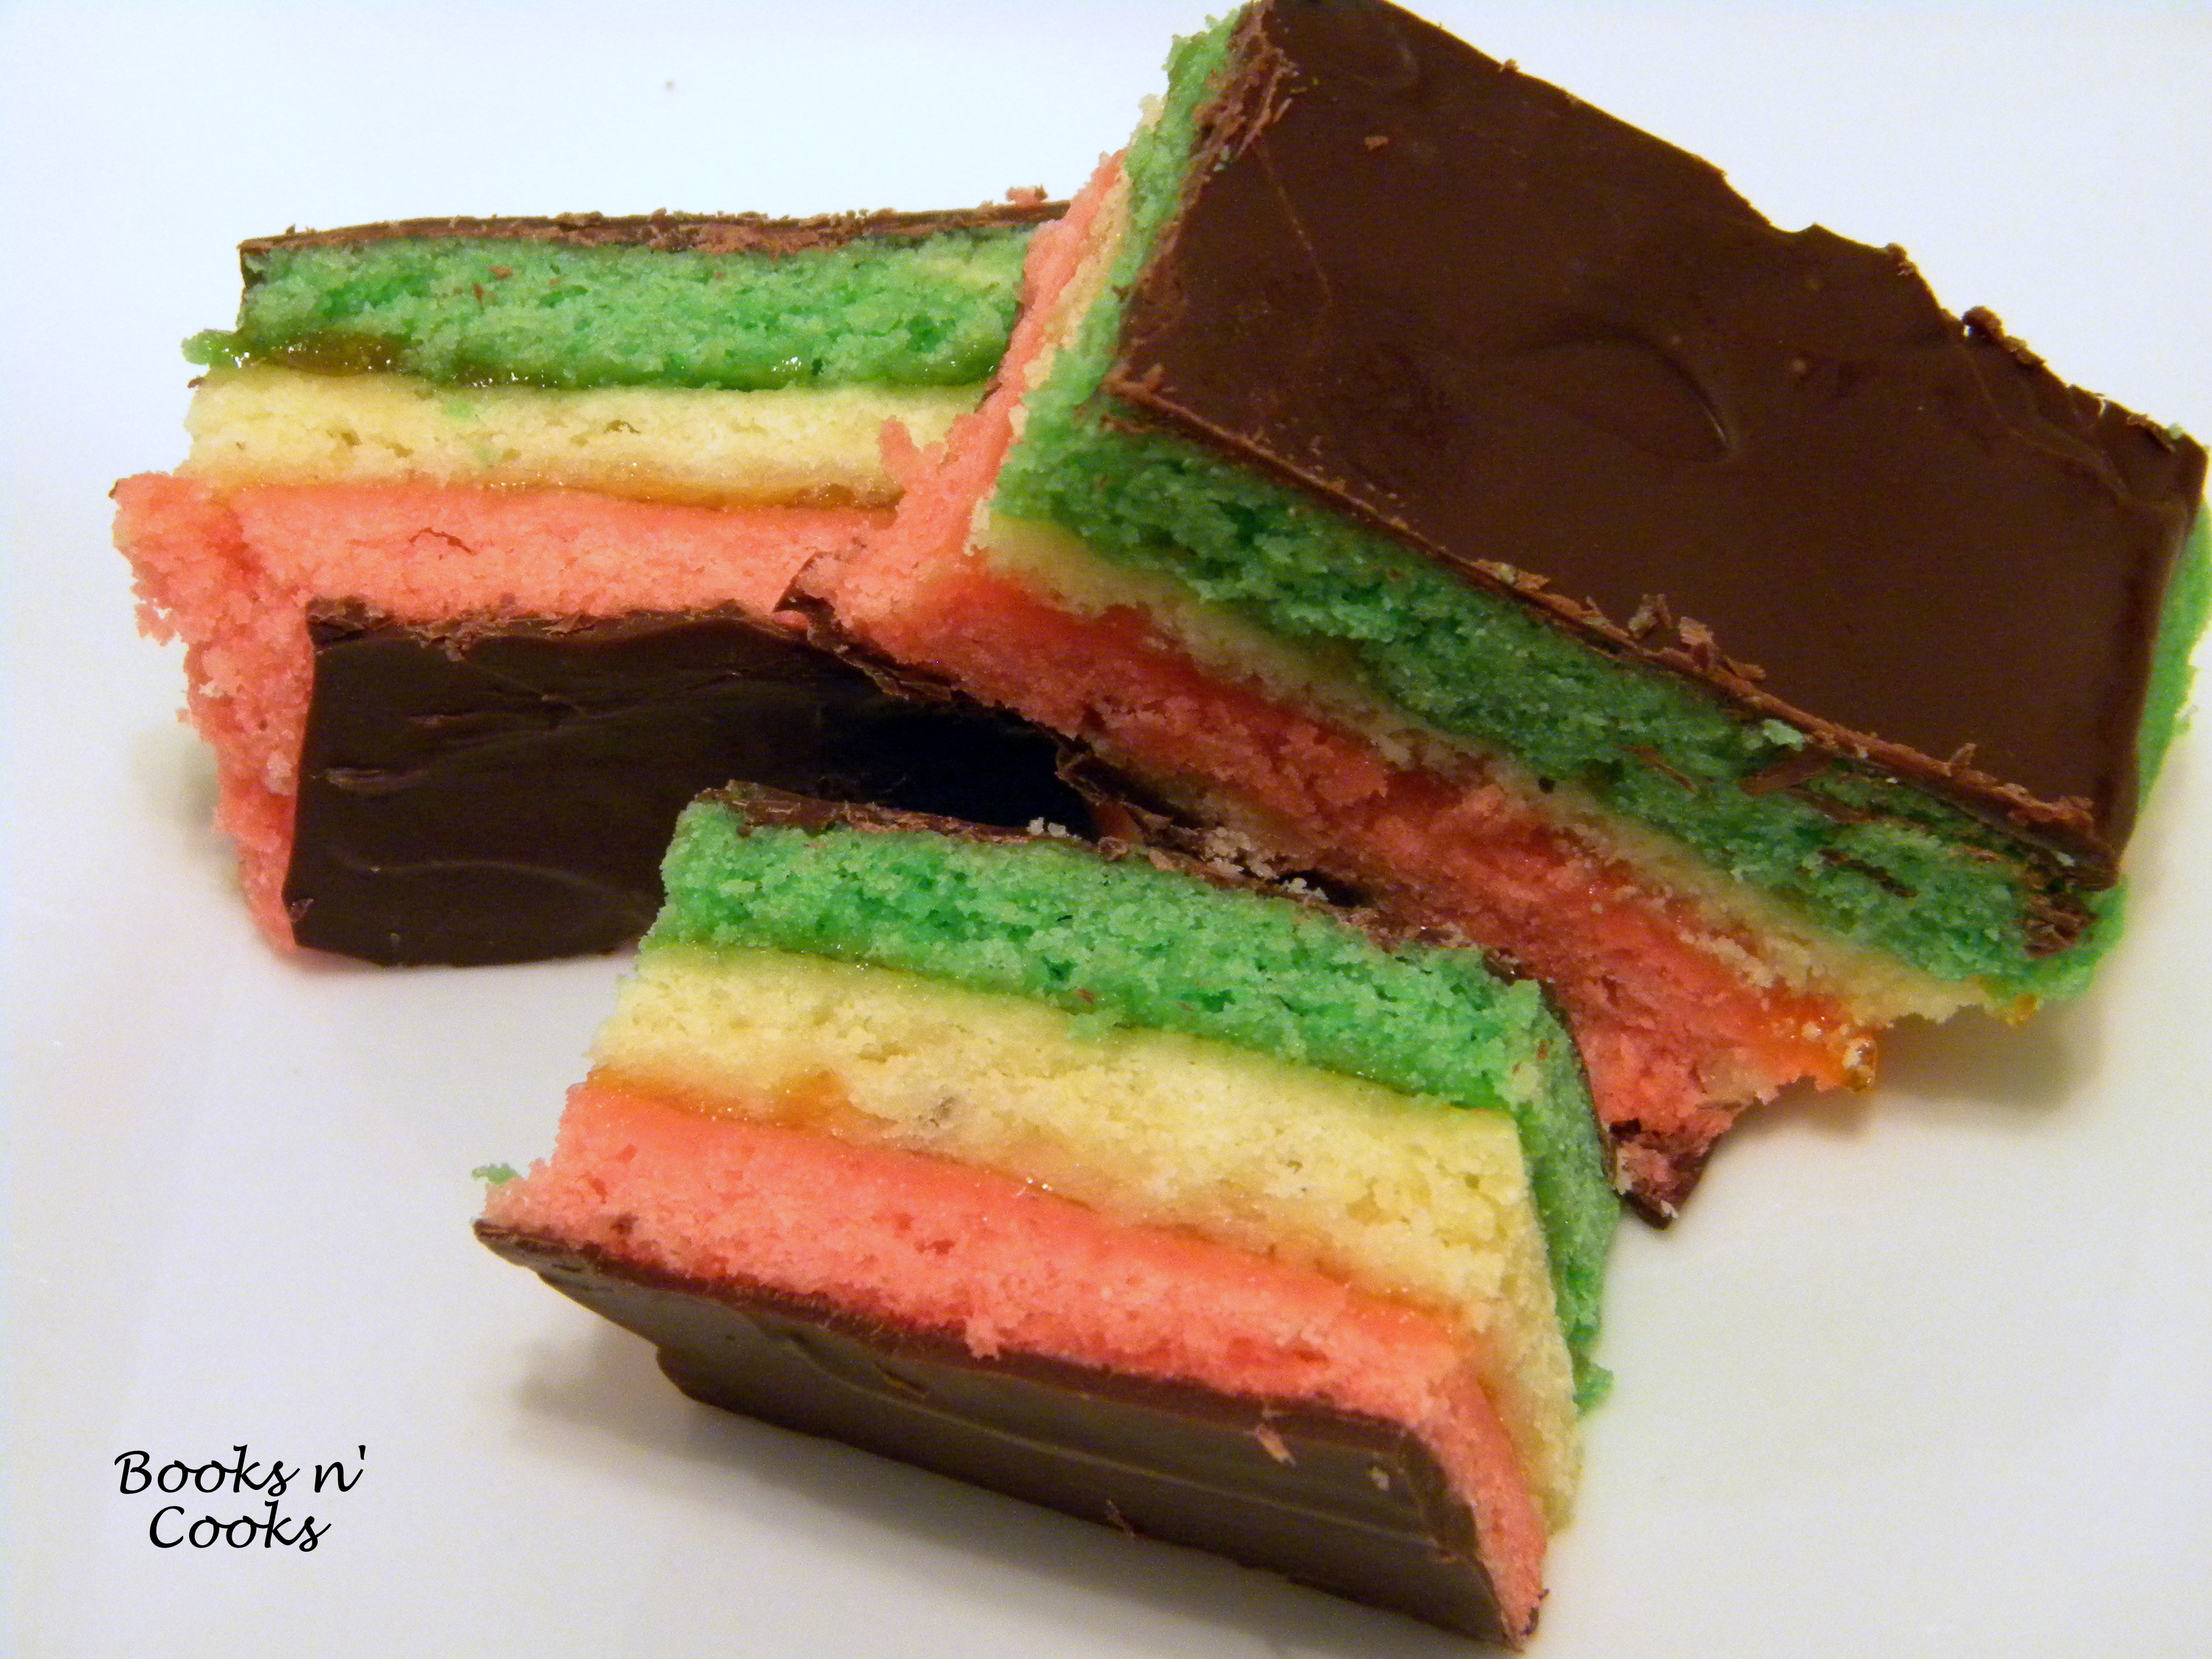
These cookies have long been a favorite of mine. My mom used to surprise us with these from the local grocery store after work sometimes, and they never lasted very long. A light cookie with a sweet almond flavor, my siblings and I used to fight over these goodies.
So when I saw the recipe a couple years ago, I knew I had to try them. These cookies, though a little time-consuming (bake & assemble, refrigerate for 8 hours, add chocolate, refrigerate again, and cut), are completely worth it. I’d had several people look at these cookies, teasing me for bring “store-bought” cookies to parties and dinners. That is always one of the greatest compliments!
If you can keep these cookies around long enough, they should last for 2 weeks in an airtight container, with parchment paper or wax paper between layers. Enjoy!
Seven Layer Cookies
Adapted from Gourmet, December 2005
Ingredients:
- 4 large eggs, separated
- 1 c. sugar
- 1 (8-oz) can almond paste
- 2 1/2 sticks (1 1/4 c.) unsalted butter, softened, plus more for pan
- 1 tsp. almond extract
- 2 c. all-purpose flour
- 1/2 tsp. salt
- 25 drops red food coloring
- 25 drops green food coloring
- 1 (12-oz) jar apricot preserves, heated and strained
- 7 oz. fine-quality bittersweet chocolate (not unsweetened), chopped
Make the Dough Layers:
Ensure rack is in the center of the oven, and preheat to 350°F.
Butter a 13×9 inch baking pan and line bottom with wax paper, leaving a 2-inch overhang on both ends. Butter paper… If you have extra pans, you can prepare up to 3, which will speed up cooking later on.
In a stand mixer fitted with the whisk attachment (medium-high speed), beat egg whites until they “just hold” stiff peaks. Add 1/4 c. sugar a little at a time, until peaks are stiff and slightly gloss. Transfer to a bowl and set aside.
Switch to the paddle attachment. On medium-high speed, beat almond paste and remaining 3/4 c. sugar until well blended, about 3 minutes.
Add the 2 1/2 sticks of butter and continue beating for another 3 minutes, until mixture is pale and fluffy.
Add yolks and almond extract, beating until combined, 2 minutes.
Reduce speed to low and add flour and salt until just combined.
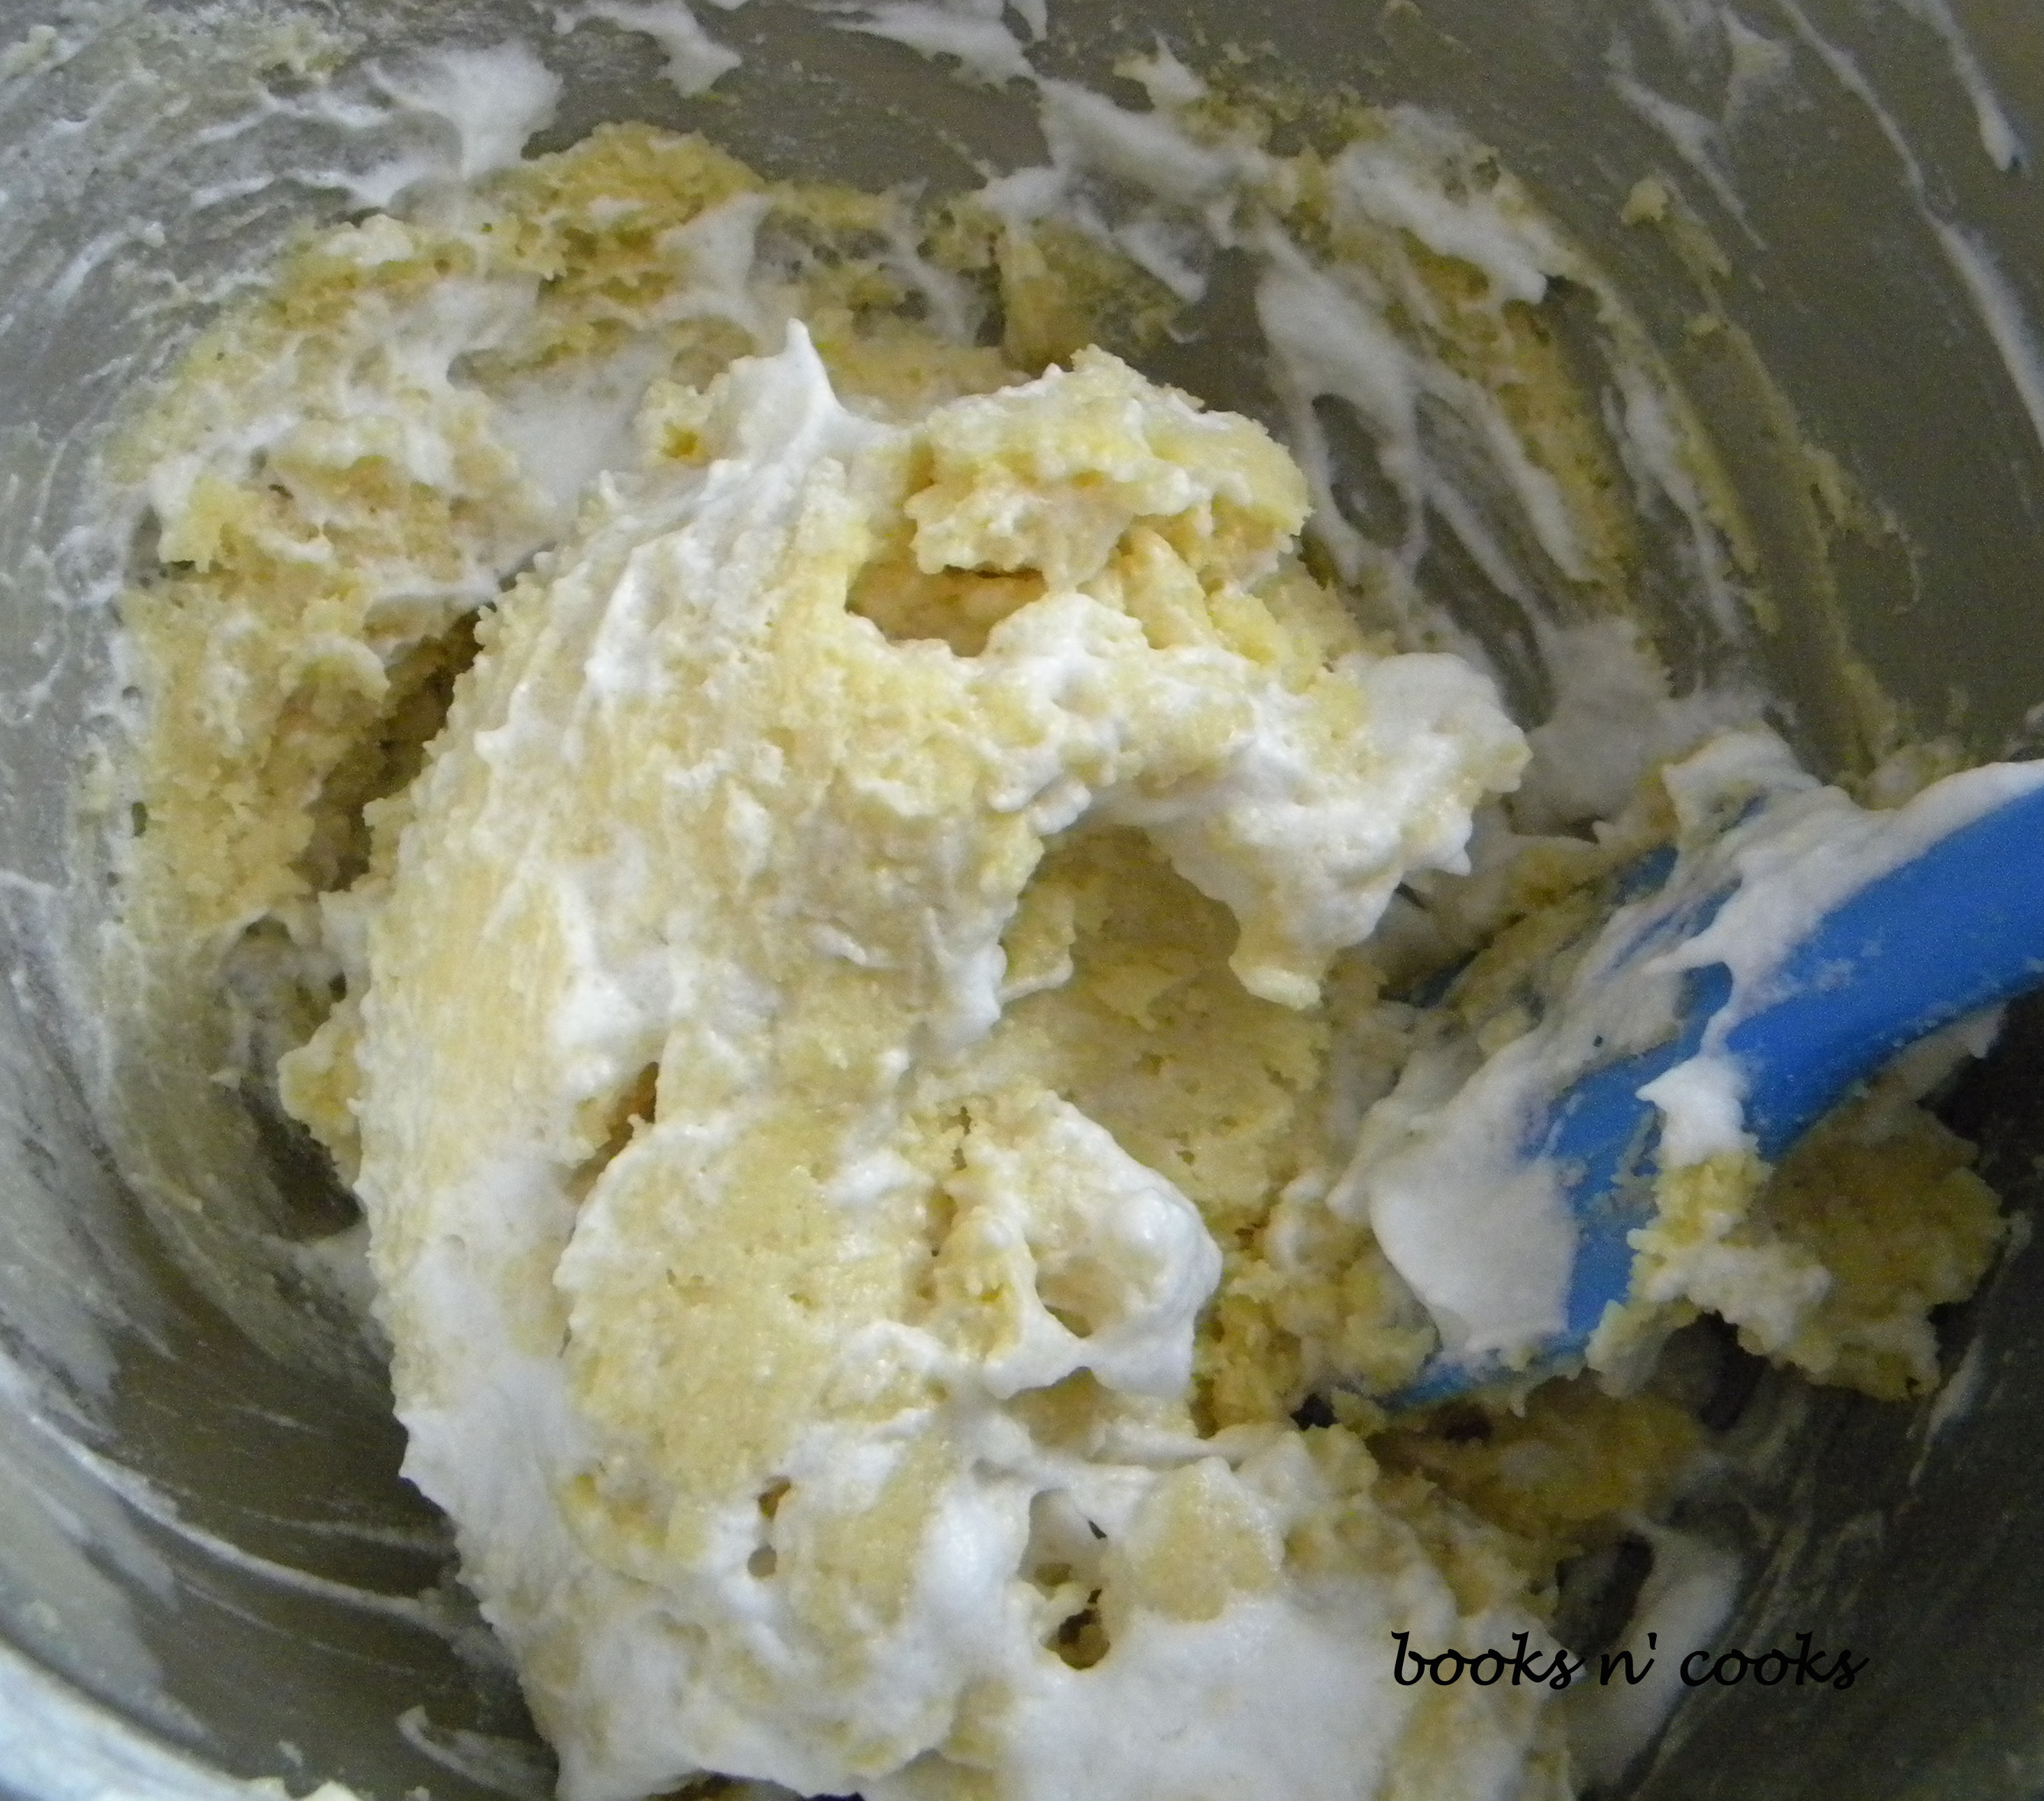
With a rubber spatula, fold half of the egg whites into the almond mixture. When combined, fold in remaining egg whites. Dough will feel heavier than you’d expect, and will be fairly sticky.
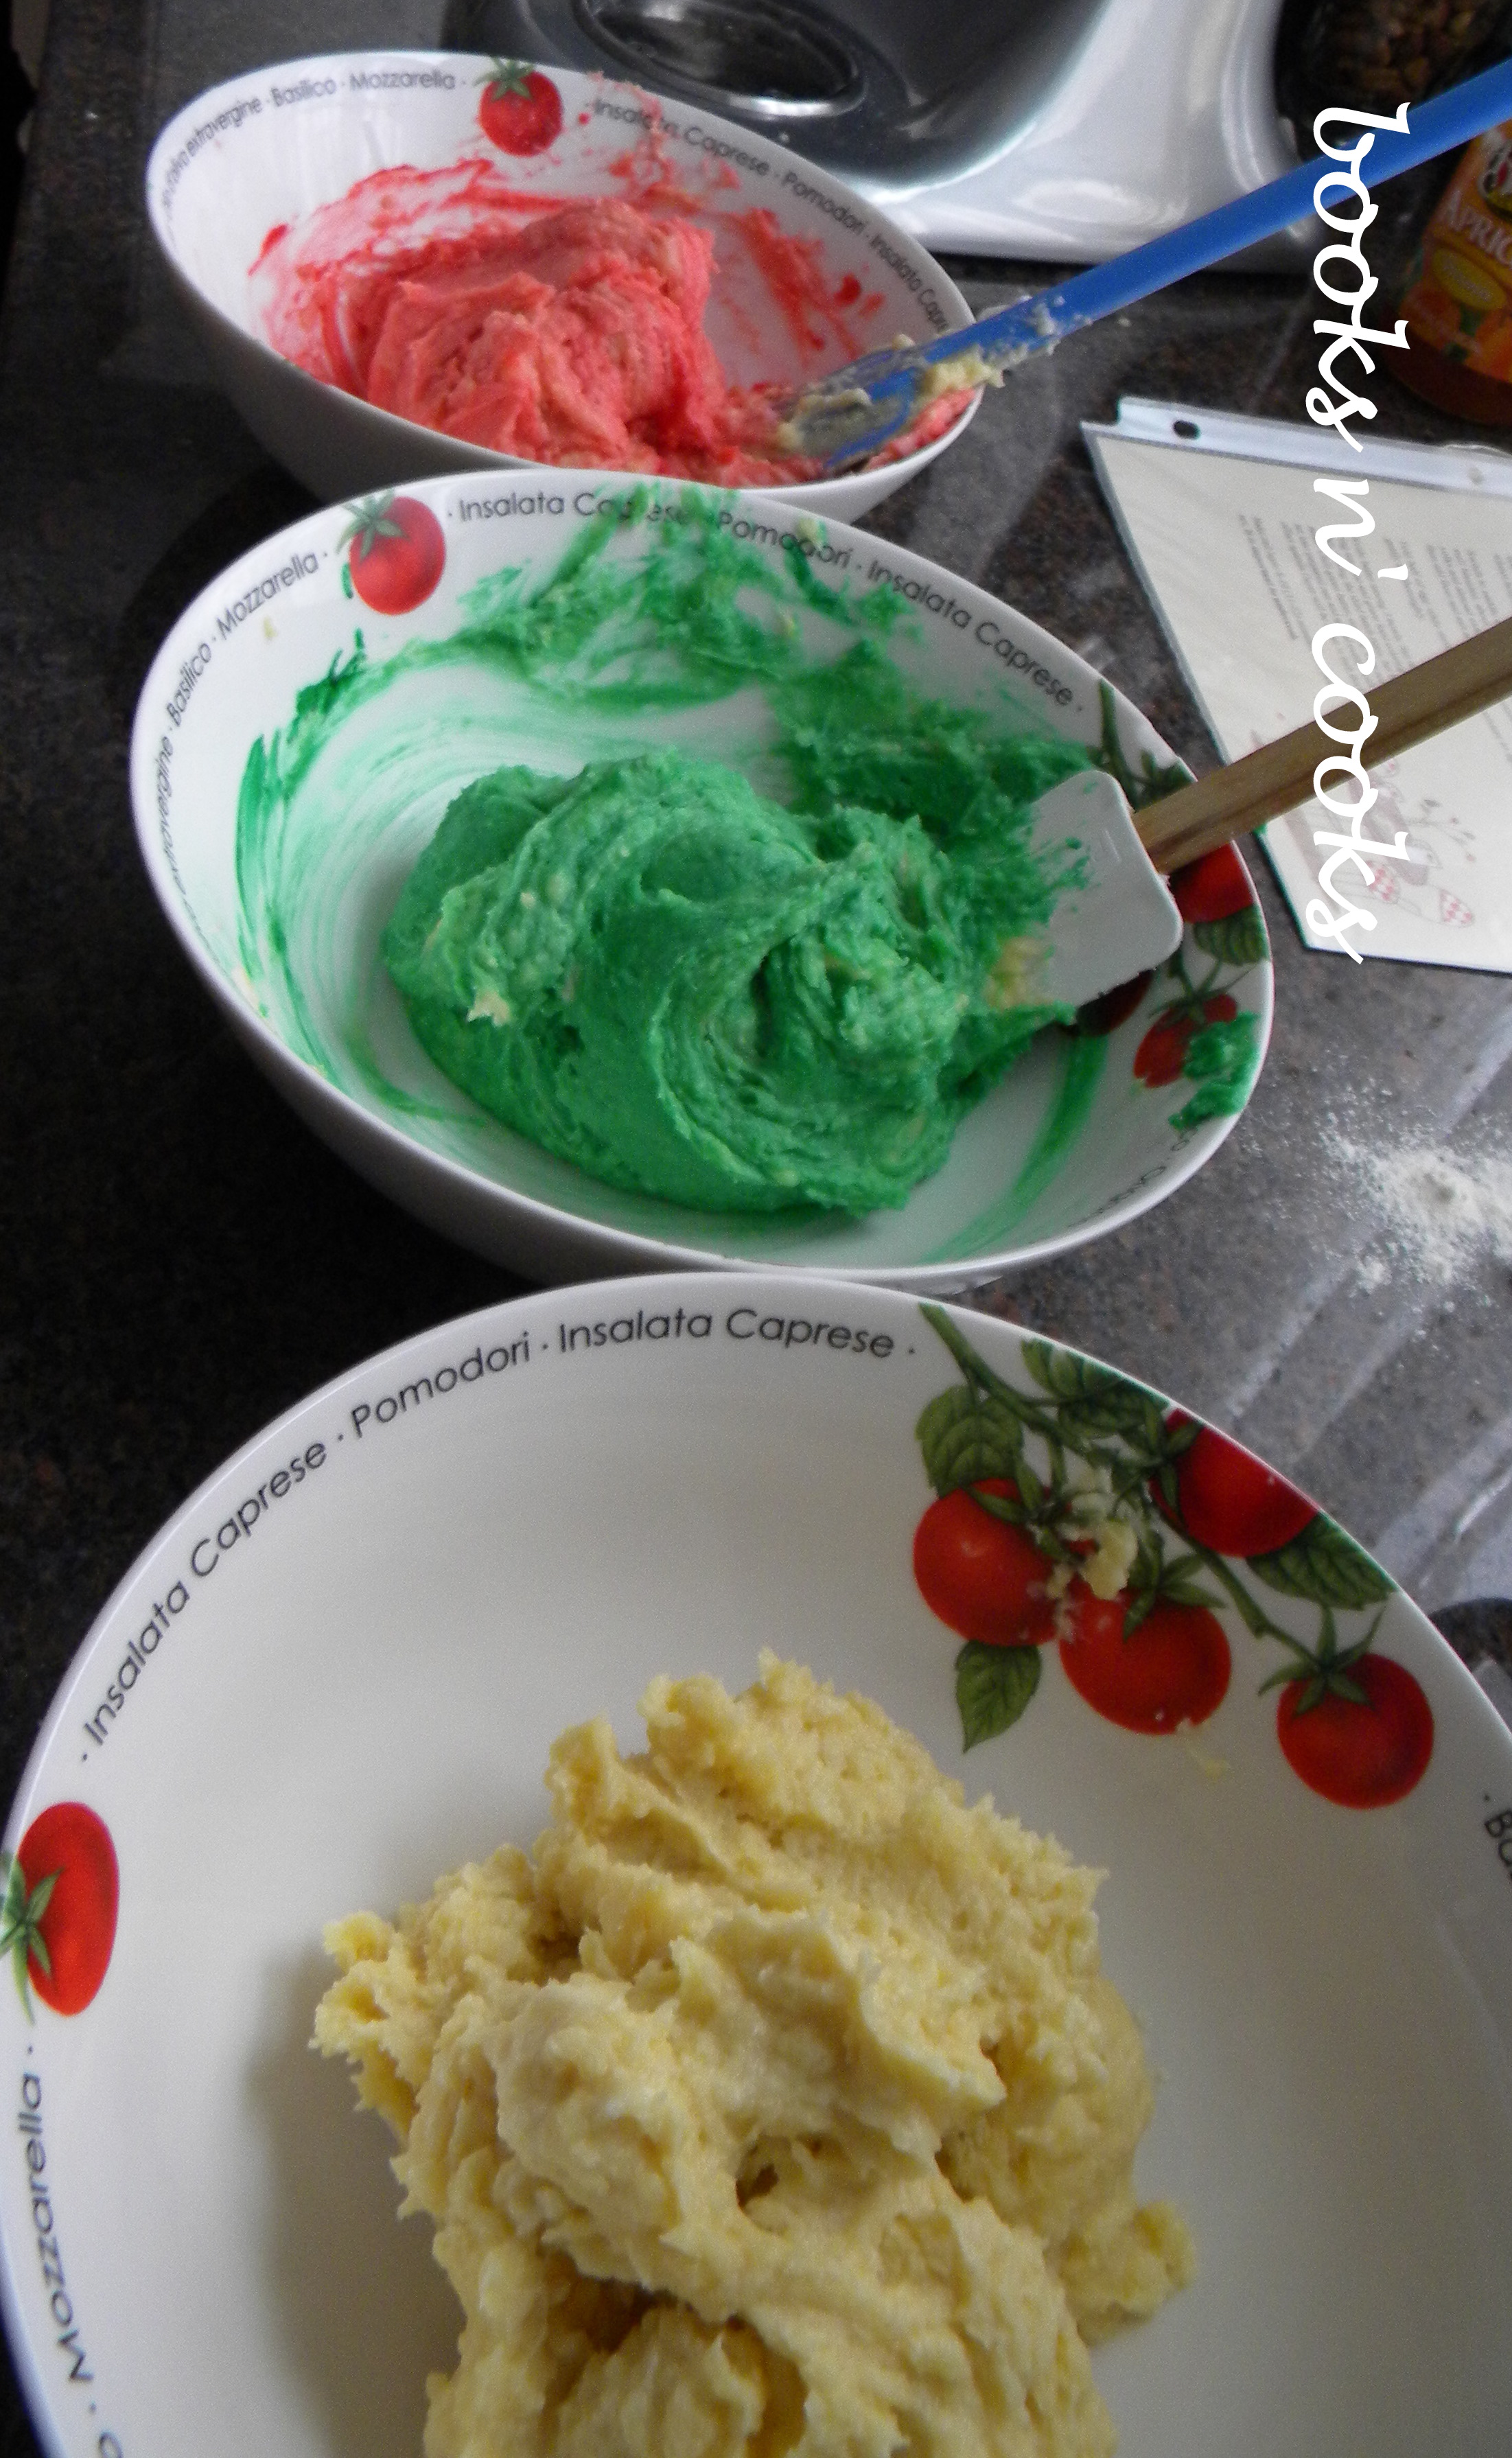
Pour batter from one bowl into prepared pan (covering and refrigerating remaining batters until ready to cook). Spread evenly with an offset spatula or a butter knife (anything with a large flat surface). Layer will be only 1/4 inch thick.
Bake layer for 9-10 minutes, until barely set. Dough should be undercooked but not completely raw. It is very important not to cook the dough, or it won’t set properly.
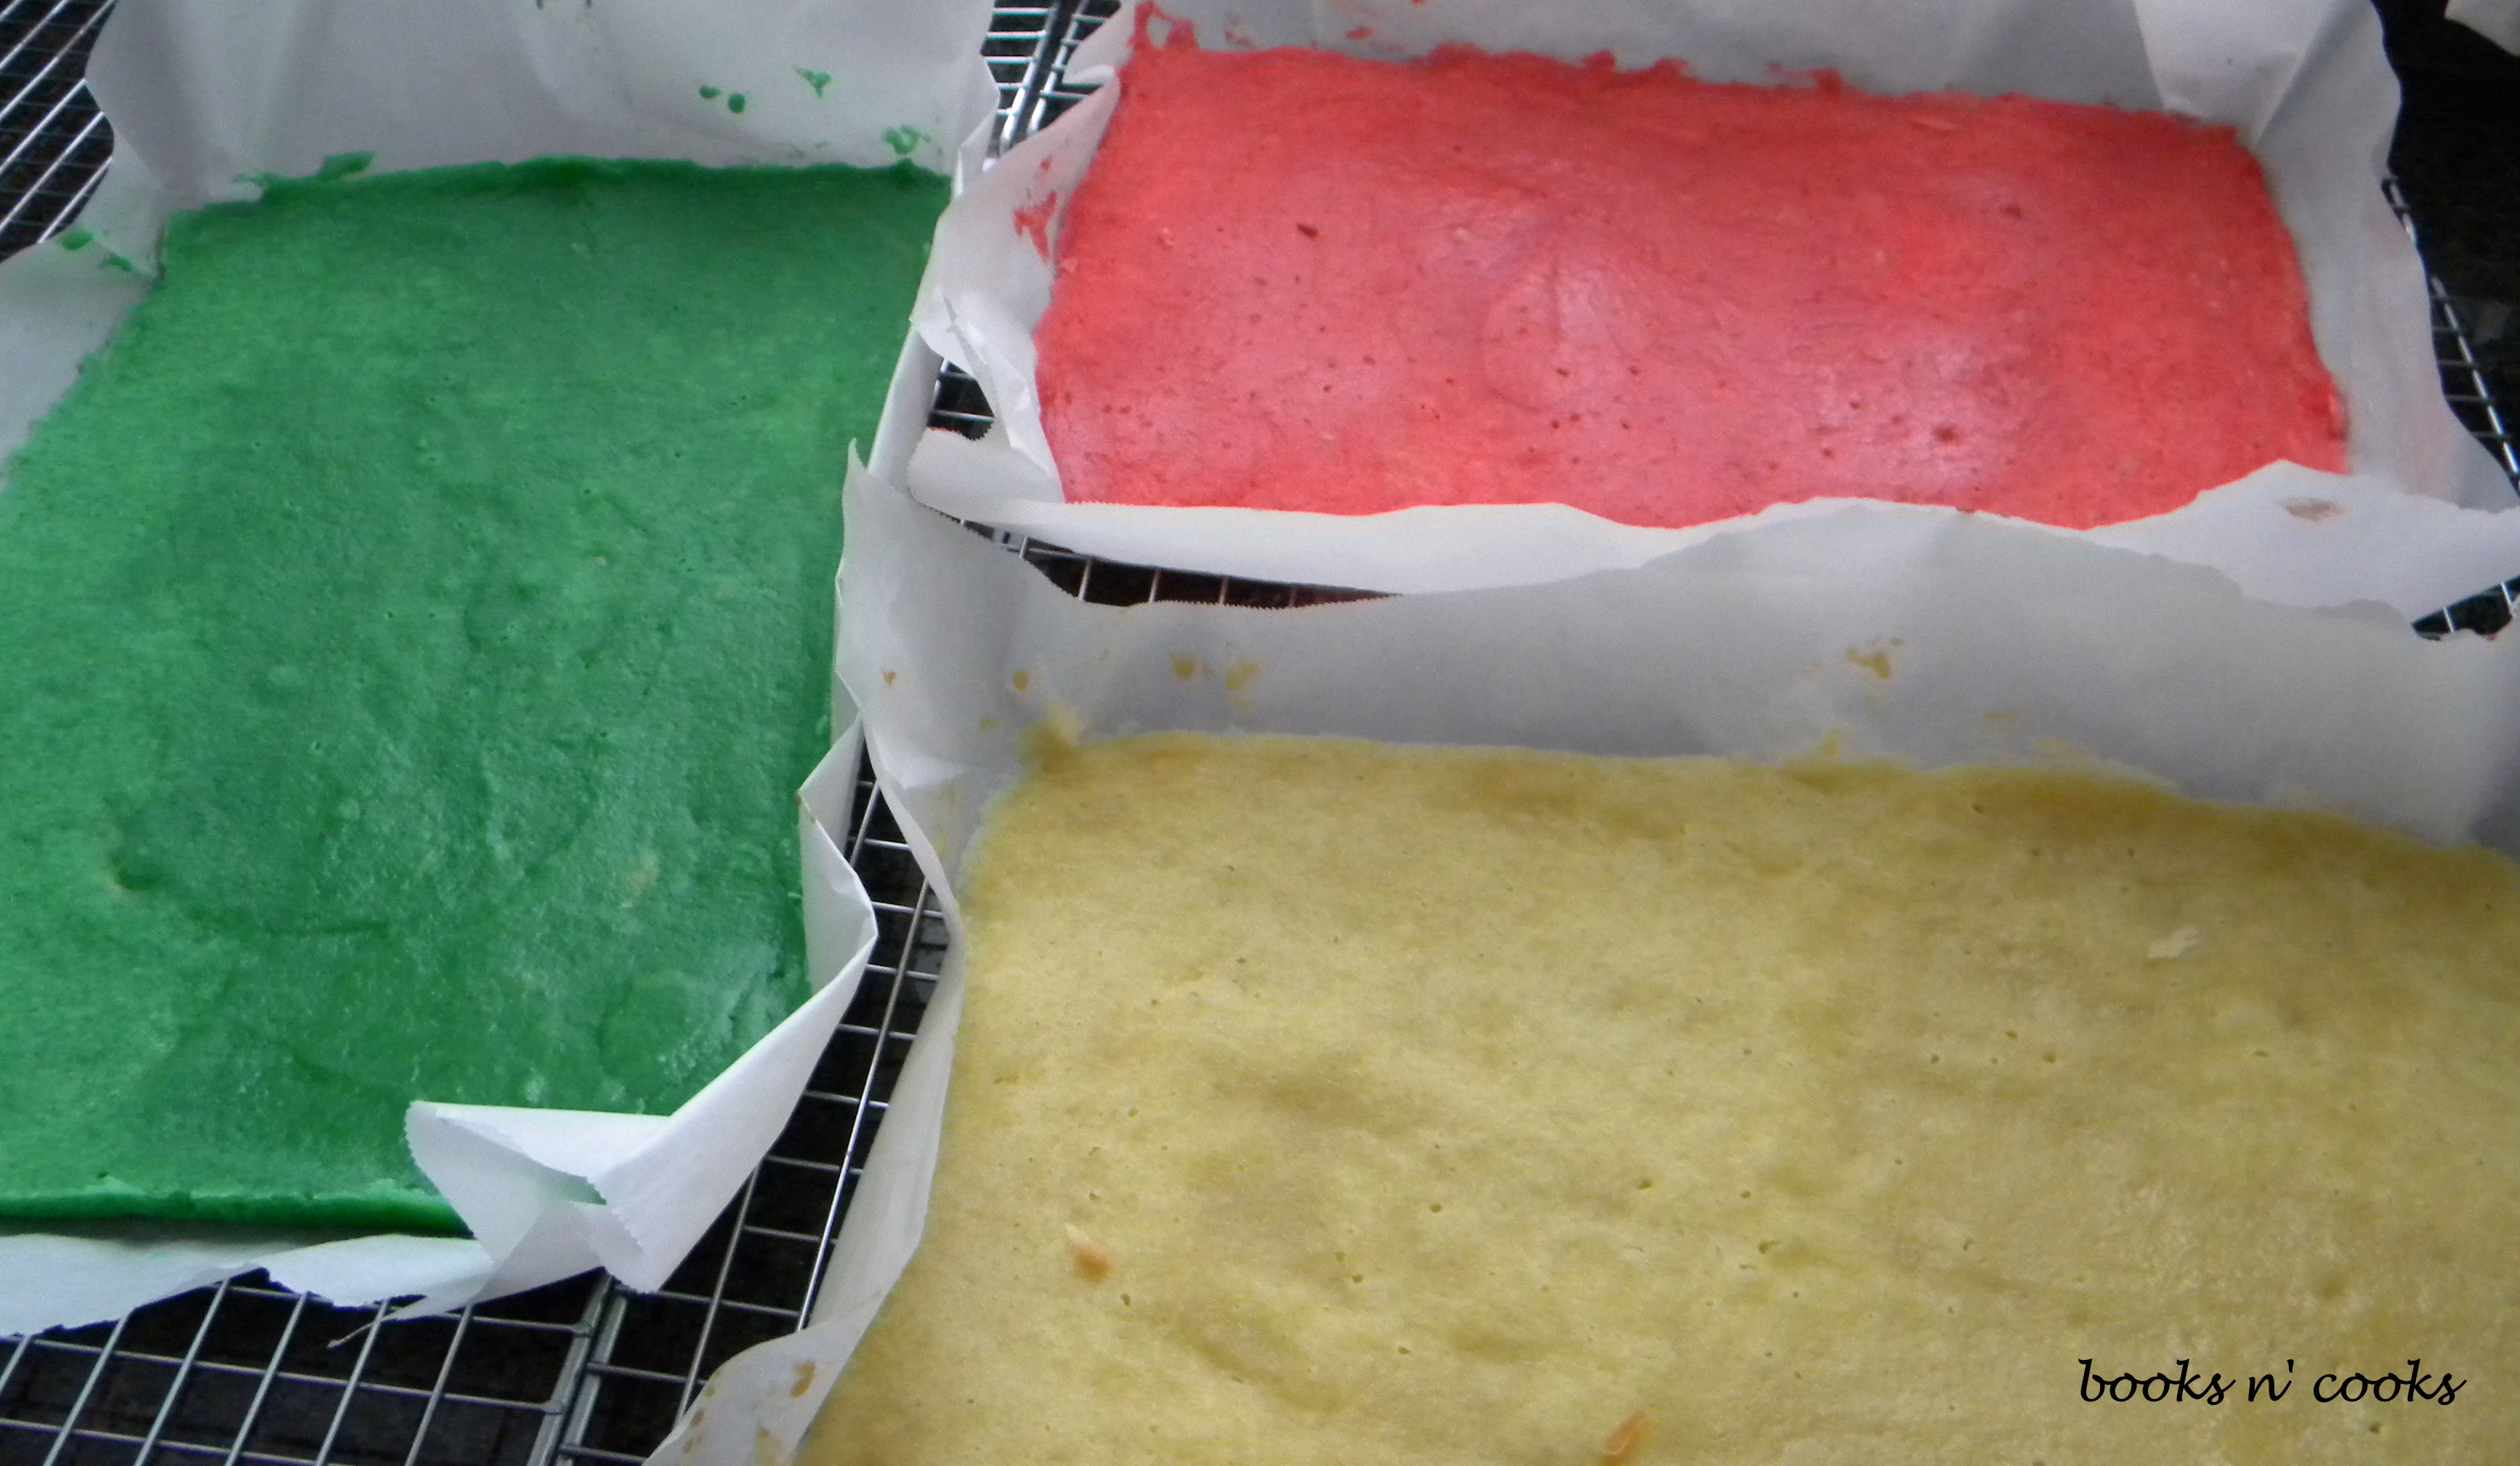
Using the wax paper overhand, transfer to a cooling rack and let sit for about 15 minutes.
Prepare the pan again, and repeat with the remaining bowls of dough. (If cooking in 3 batches, take the last bowl of dough out of the fridge a little before baking to bring back to room temperature).
Assemble the Cookies:
When all layers are cool, line a large baking sheet with wax paper. In a pot, heat apricot preserves over medium-low heat, stirring until warmed and easily spreadable. (I find that I don’t use all the preserves, so I usually heat less than the whole amount and add more if necessary).
Invert green layer onto baking sheet, getting rid of wax paper that lined the bottom. Pour a bit of the apricot spread (maybe 1/3 the amount) over the green layer. Spread thinly, to the edges. There should be enough preserves to make the next layer of “cake” adhere. (I also remove any big chunks of apricot.)
Next, invert white layer on top of the green, discarding wax paper. Spread another 1/3 of the apricot preserves on top of white layer. Add red layer, discarding the wax paper.
Cover the “cake” with plastic wrap. Place Pyrex dish or a large baking pan on top of the “cake” and refrigerate for at least 8 hours.
Chocolate “Crust,” Cut & Enjoy:
Remove dish and plastic wrap and bring “cake” to room temperature.
In a double boiler, melt chocolate, stirring until smooth. Keep warm so the chocolate stays smooth.
Using a serrated knife, trim the edges of the “cake” (a wonderful little snack!).
Spread half of the chocolate over the top of the cake in a thin layer. Chill uncovered for 10-15 minutes, until chocolate is firm.
Cover another baking sheet with a sheet of wax paper. Invert cake onto new baking sheet. Spread remaining chocolate over cake and chill until firm, another 15 minutes or so.
Cut lengthwise into 4 strips, and then crosswise into 3/4 inch-wide cookies.
my awful, old photo from the original post. new photo posted April 2011
