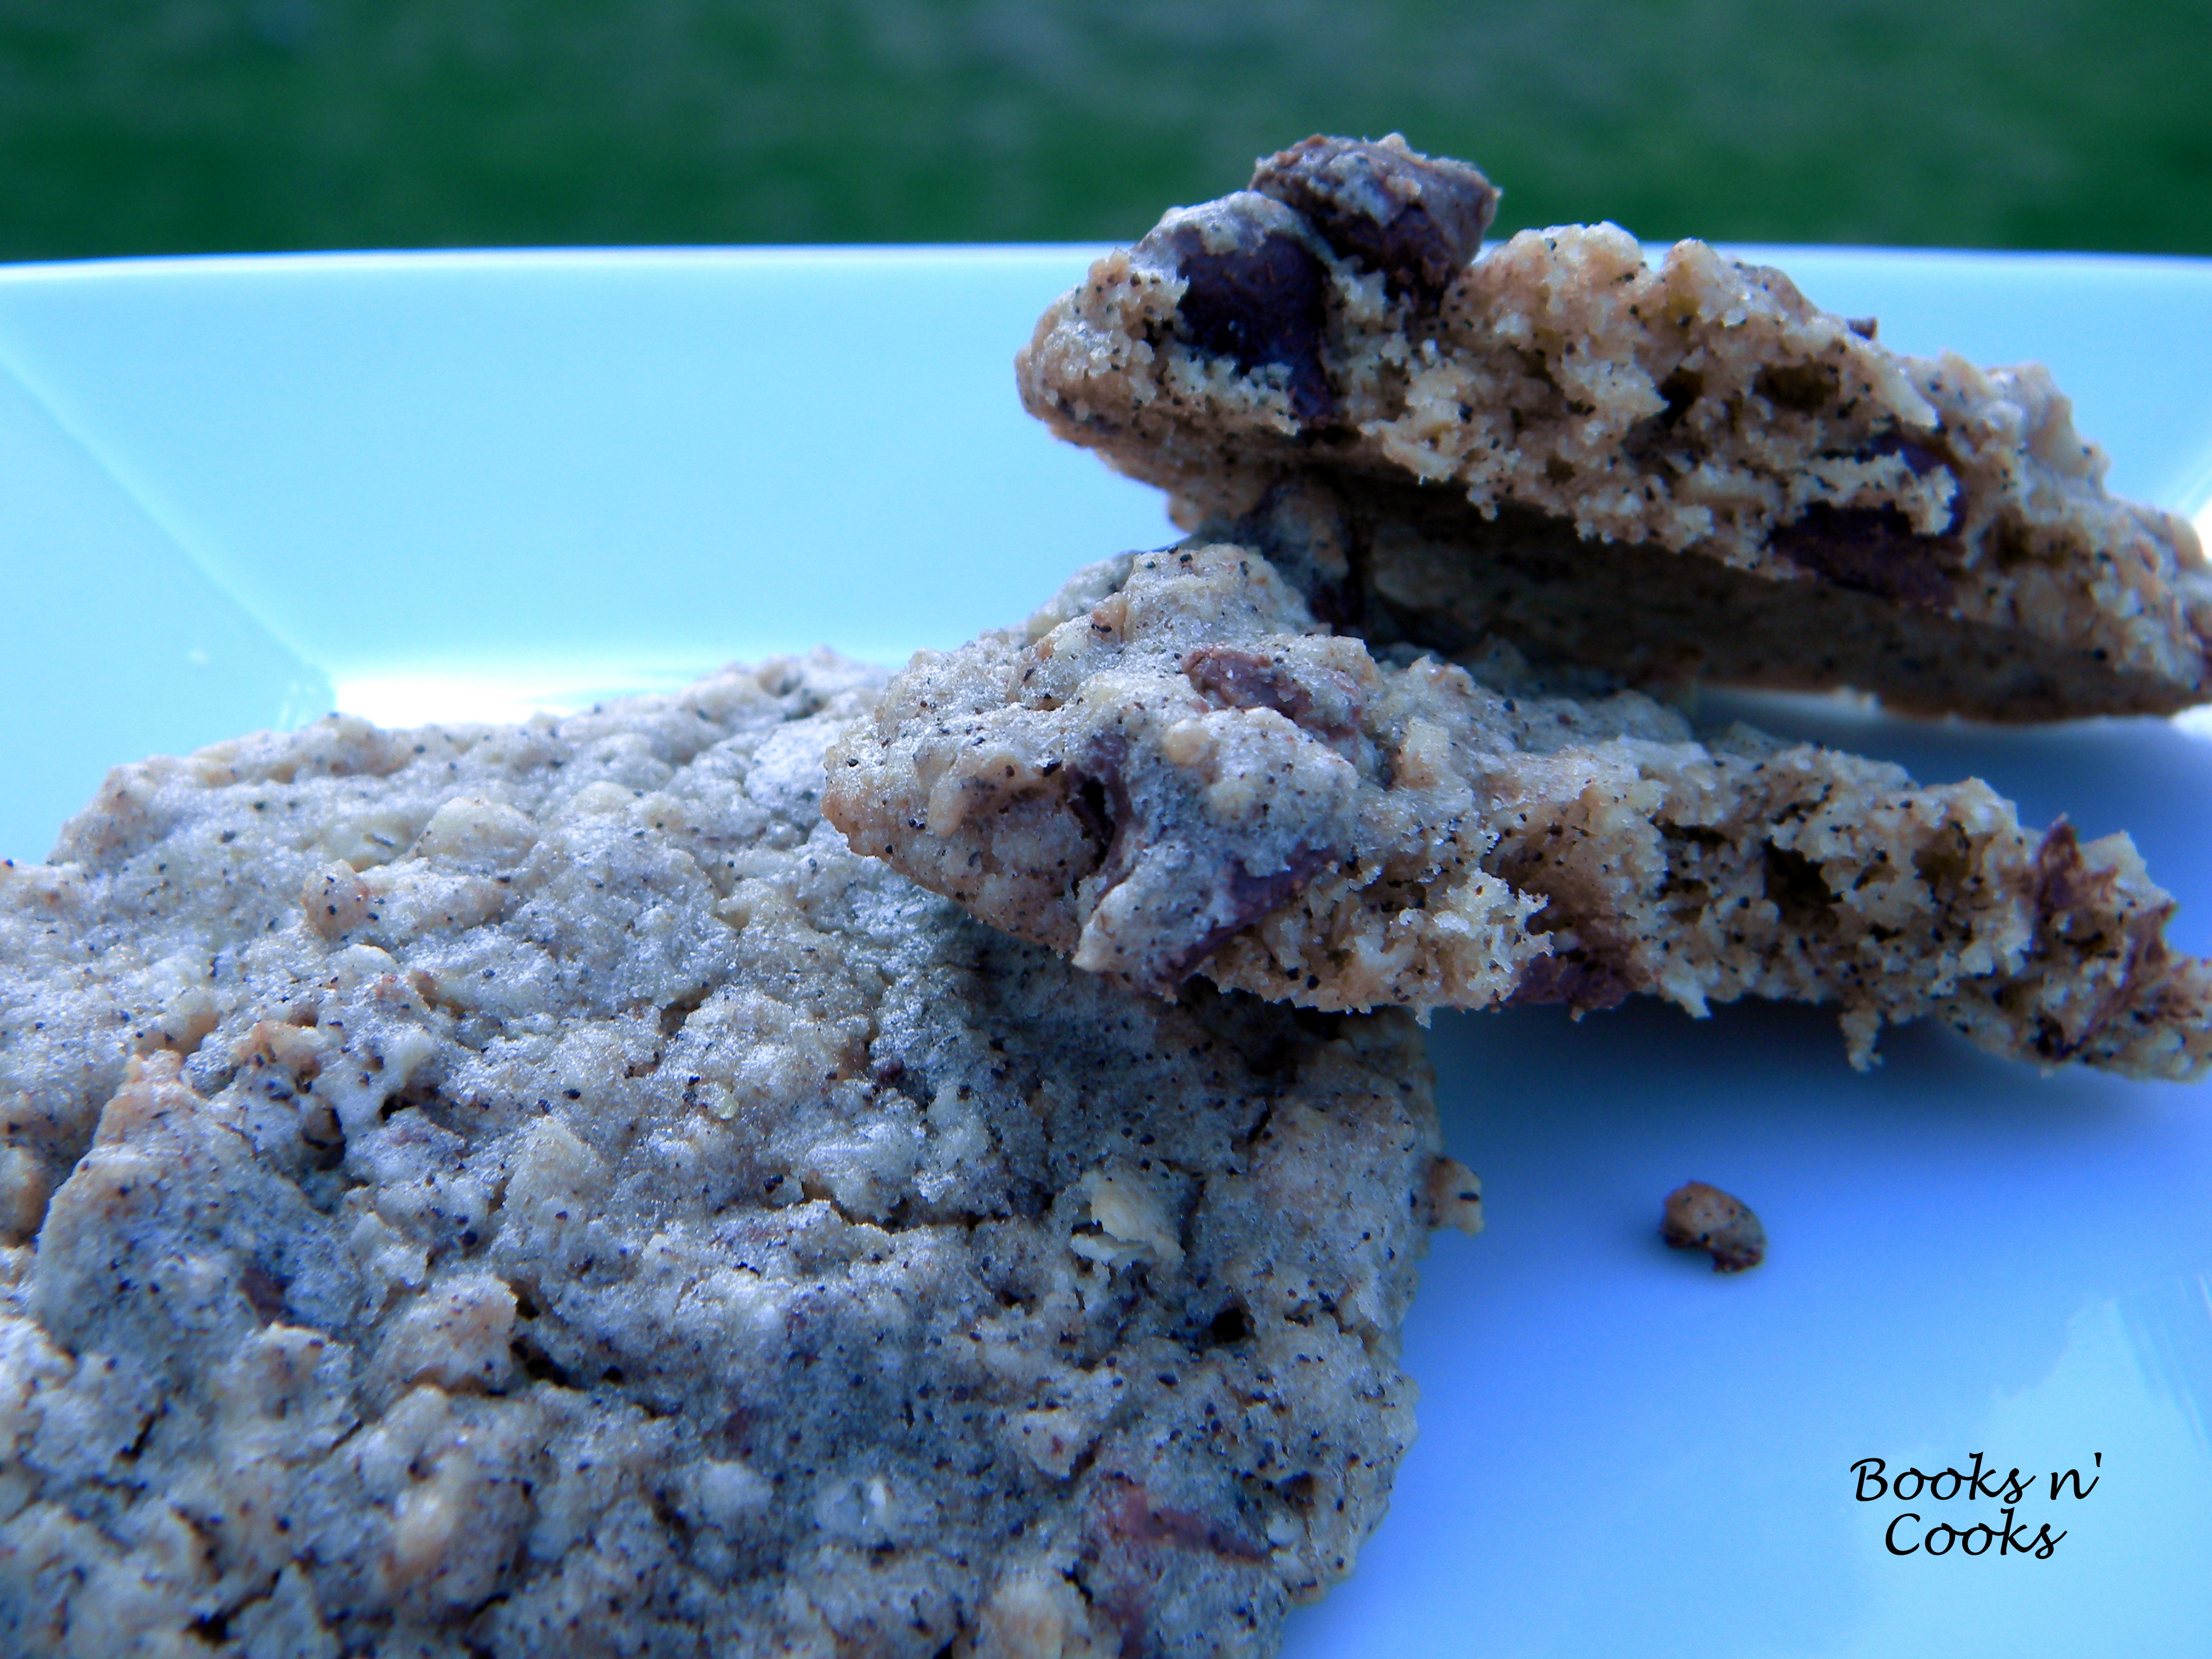
Espresso-Infused Nieman Marcus Cookies

I’ve been ridiculously busy lately, as I’m trying to finish school this summer. The stress of it all makes me cranky and anti-social – I haven’t wanted to talk on the phone at all lately, I’ve wanted to spend my Friday nights in my pjs with a movie or a fun book… The more I have to do, the more stressed I get, and the less I want to work on any of it.

Since my poor dad has been missing his Sunday morning phone calls (that would be my favorite study time), I want to make sure that I sent him something more than a card for father’s day. When we were growing up, he would grumble that father’s day was a just a Hallmark holiday, but he still wanted it to be recognized with a card, an extra chore done around the house, or a big pile of cookies. So Dad, I hope you enjoyed these (I heard they didn’t last long!) Happy Father’s Day, Dad!  Love you!

Espresso-Infused Nieman Marcus Cookies

Adapted from Nieman Marcus Cookies

Yields 4-5 dozen cookies

Note: When I was looking for a way to cite the original recipe I adapted from (it came in a handmade recipe book from a family member), I stumbled across the true recipe for Neiman Marcus Cookies, which in fact, is infused with espresso powder (the one I have actually has shaved chocolate and twice the ingredients). I guess I’m not as original as I thought.  🙂

Ingredients:

  • 1 c. unsalted butter, softened
  • 12 oz. semi-sweet chocolate chips
  • 2 c. all-purpose flour
  • 1 c. brown sugar
  • 1/2 tsp. salt
  • 1 c. sugar
  • 1-2 Tbs. espresso powder
  • 2 1/2 c. oatmeal
  • 2 eggs
  • 1 tsp. baking powder
  • 1 tsp. vanilla
  • 1 1/3 c. chopped walnuts (optional)

Preheat oven to 375F and line two baking sheets with parchment paper.

Blend oatmeal in a food processor until ground into a fine powder. Set aside.

In a stand mixer fitted with the paddle attachment, cream together butter and both sugars, about 3 minutes. Add eggs and vanilla, one at a time. Lower speed on mixer and slowly add in remaining dry ingredients – your mixer will be working over time so do not add all at once.
When dry ingredients appear to be well mixed in, add espresso powder and chocolate chips, again with the mixer running. Turn off mixer and with a wooden spoon, make sure no flour/oats and chocolate are sitting at the bottom of the bowl. If so, incorporate that the best you can.

Use (heaping) teaspoons to portion out dough onto prepared baking sheet, setting cookies about 2 inches apart (they’ll spread a little). Bake 10 minutes.

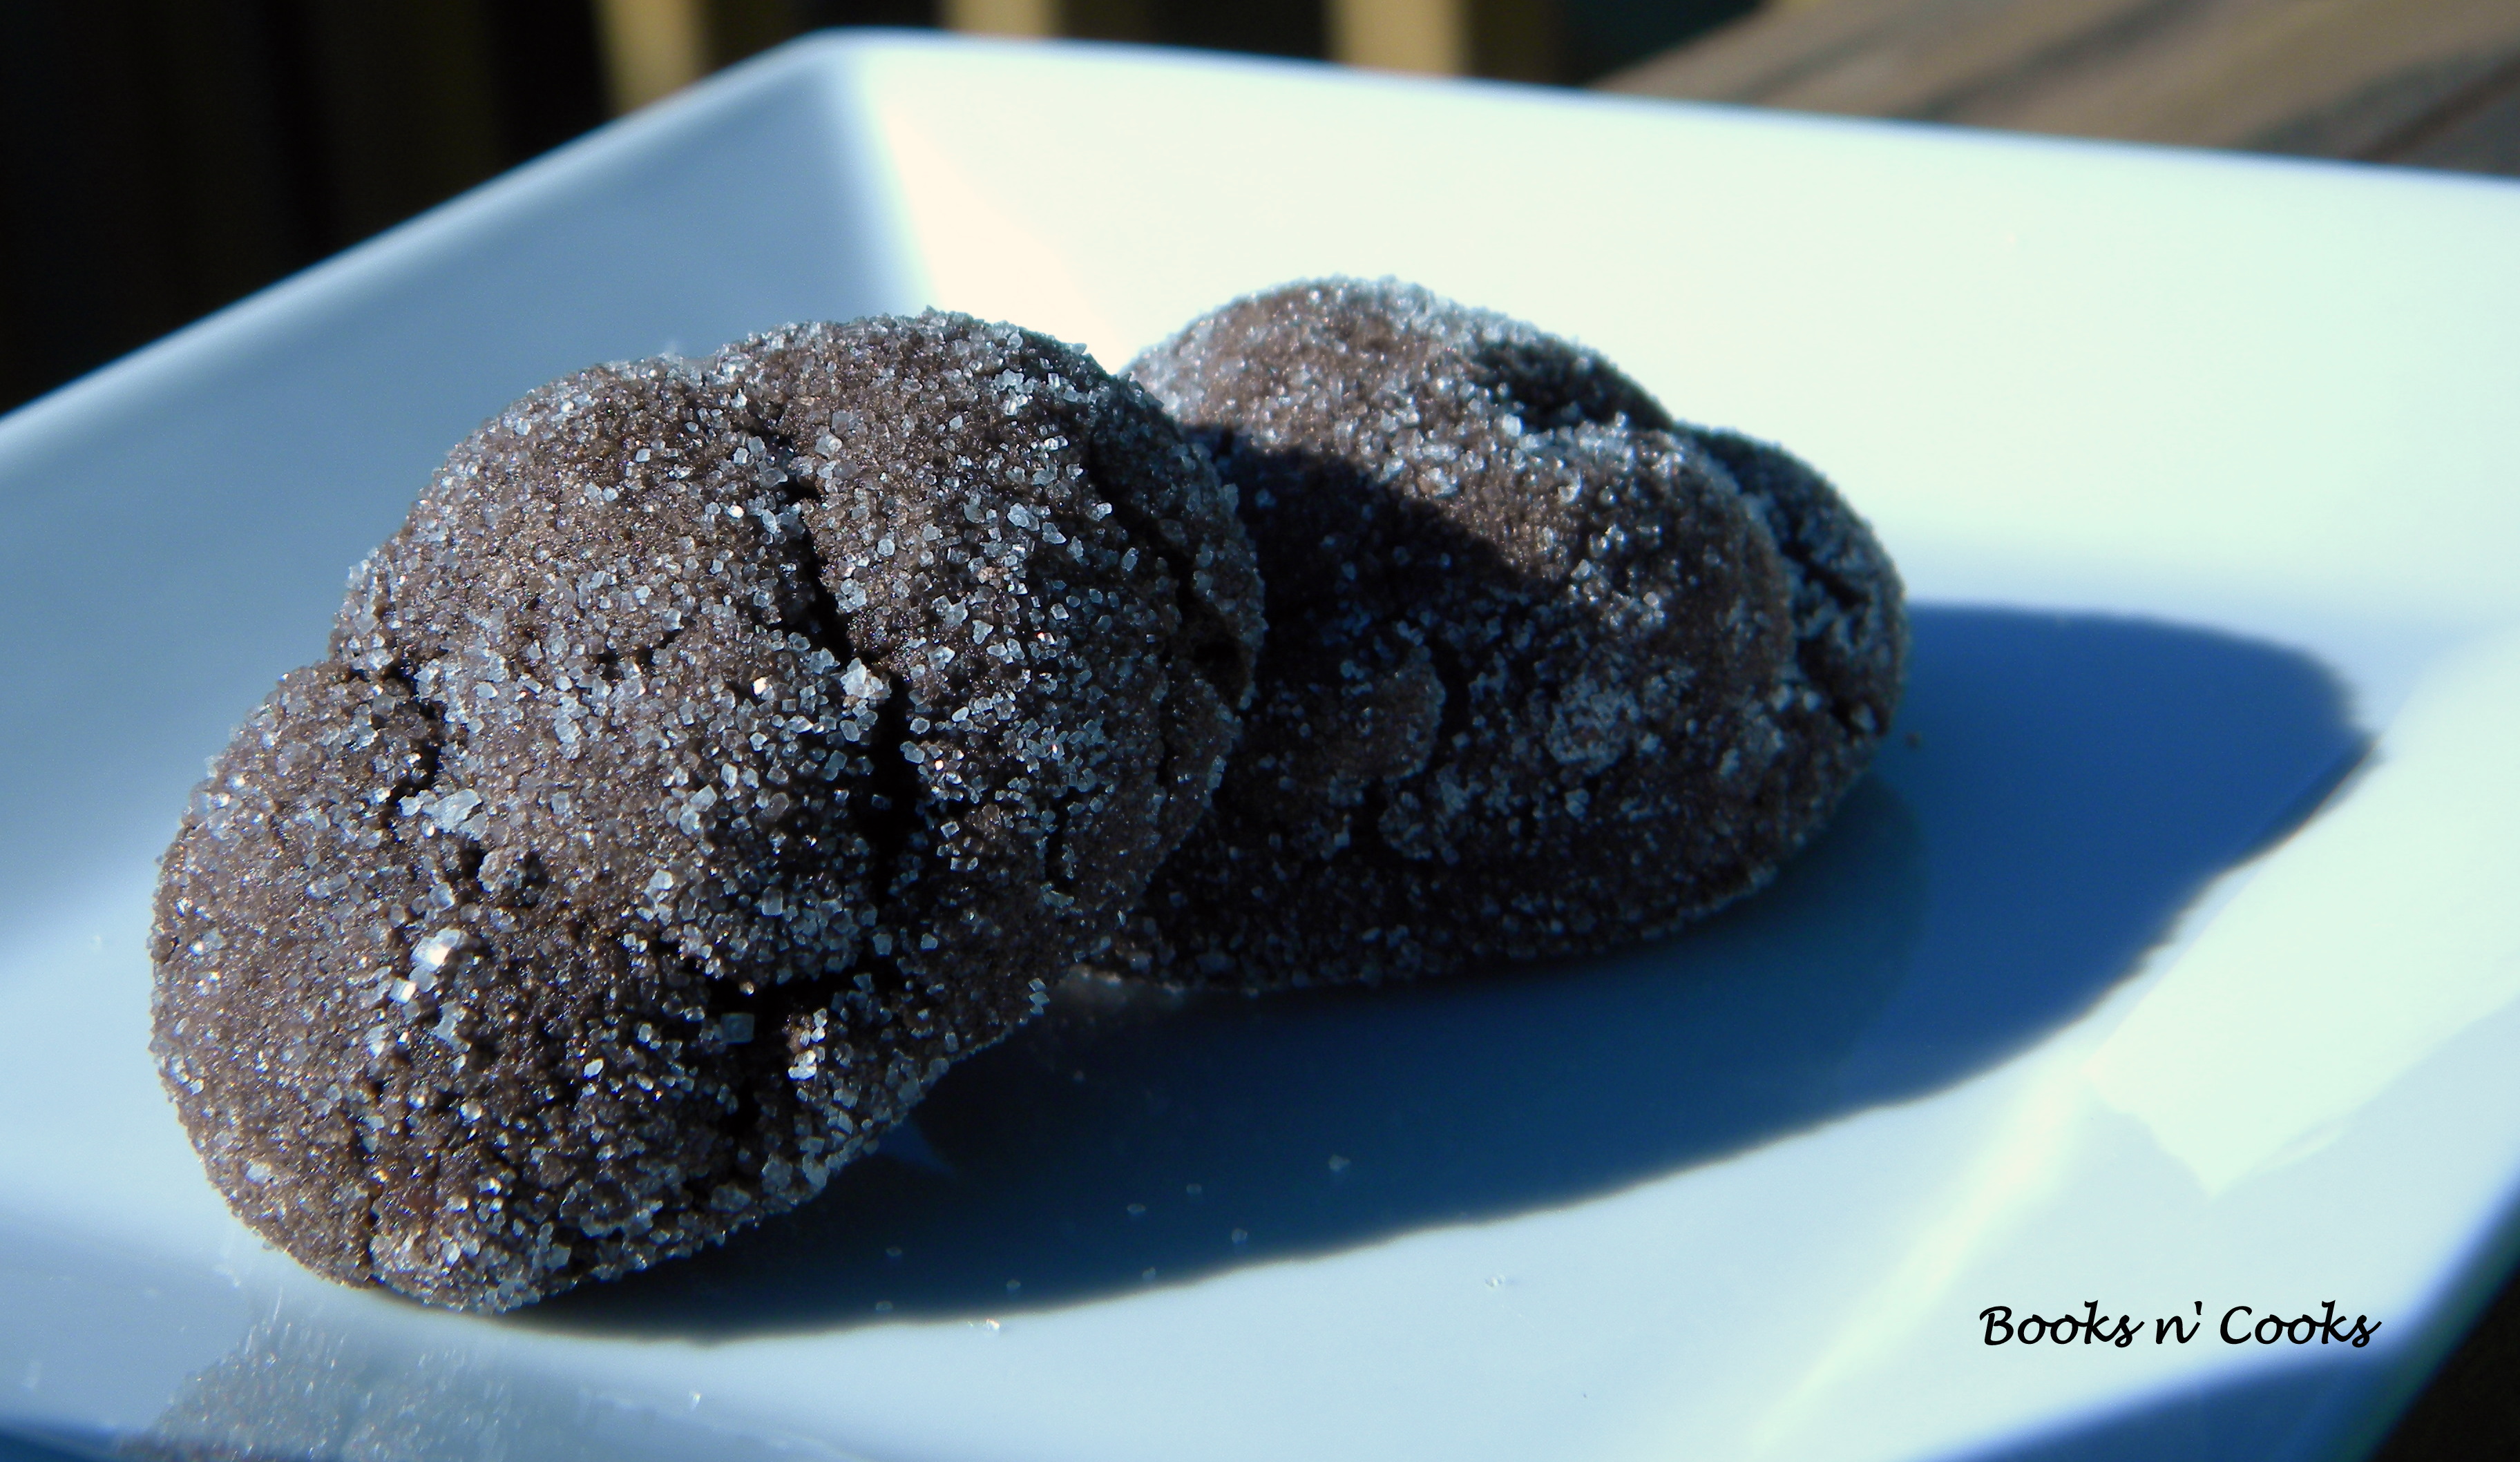
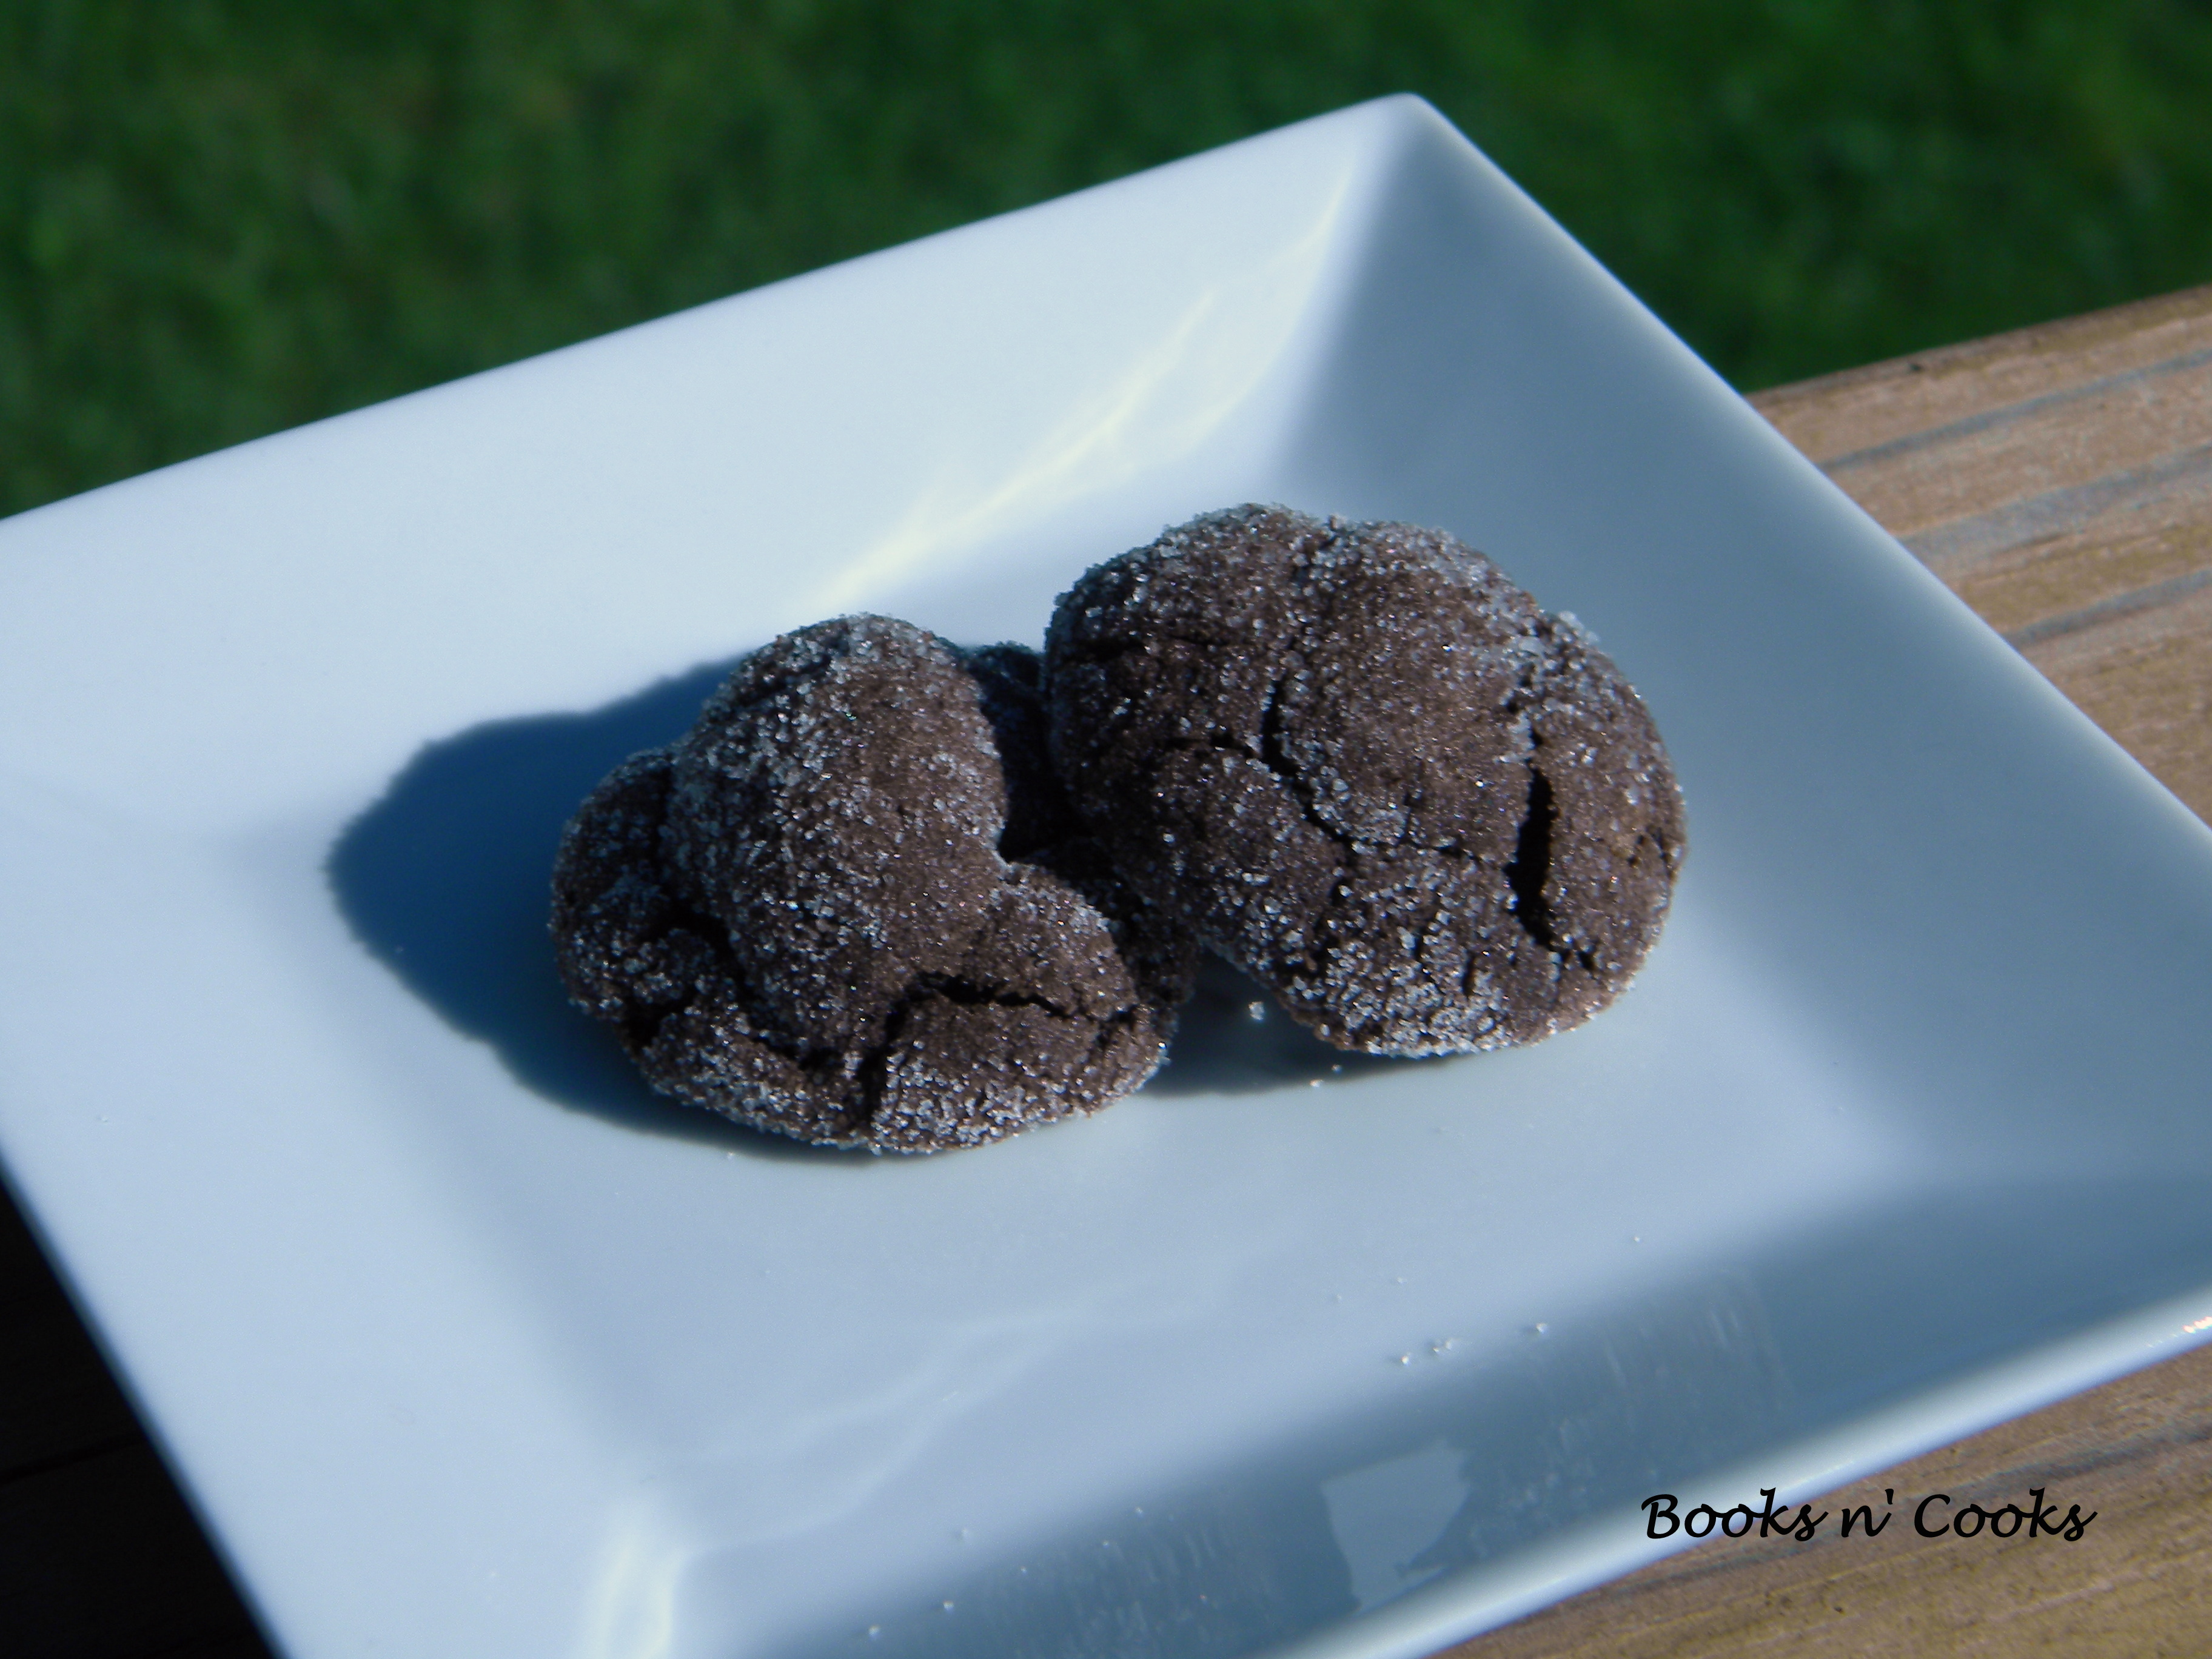
Cappuccino Crinkles

One of the things I think everyone should have in their recipe book is a dessert  that doesn’t require flour. Fine Cooking’s Dark Chocolate Crackles have saved by butt more than a few times when I forgot to visit the baking aisle at the grocery store. Light and chocolaty, they were always a crowd pleaser. Now, I add these Cappuccino Crinkles to my list of desserts that don’t require flour. These are a bit more bitter and have just a hint of that wonderful coffee flavor.

Cappuccino Crinkles

Adapted from Better Homes & Garden’s New Cookbook

Makes 3-4 dozen cookies

Ingredients:

  • 1/3 c. butter
  • 1 c. packed brown sugar
  • 2/3 c. unsweetened cocoa powder
  • 1 Tbs. instant coffee
  • 1 tsp. baking soda
  • 1 tsp. ground cinnamon
  • 2 egg whites
  • 1/3 c. low-fat vanilla yogurt
  • 1 1/2 c. all-purpose flour
  • 1/2 c. granulated sugar

Make the Dough: In a stand mixer set to medium speed, beat the butter for a minute, just to soften it up. Add brown sugar, cocoa powder, coffee, baking soda, and cinnamon, beating until combined. Add egg whites and yogurt, again beating until combined.

Scrape down the bowl and then add flour, 1/2 a cup at a time – you’ll probably only need 1 1/4 cups. The batter will be thick and quite sticky. If you add the last 1/4 cup of flour, be warned that it will probably end up mostly at the bottom of the bowl.

Refrigerate the batter for 3 hours.

3 hours later… Preheat oven to 350F and line a baking sheet with parchment paper.

Pour granulated sugar into a bowl. Roll truffle-sized balls (about a teaspoon of dough, which will still be sticky) and coat with sugar. Place cookies on prepared baking sheet.

Bake 8-10 minutes, until edges are firm and tops are beginning to crackle.

Allow to cool a few minutes on a baking sheet before moving to a wire rack to cool completely.

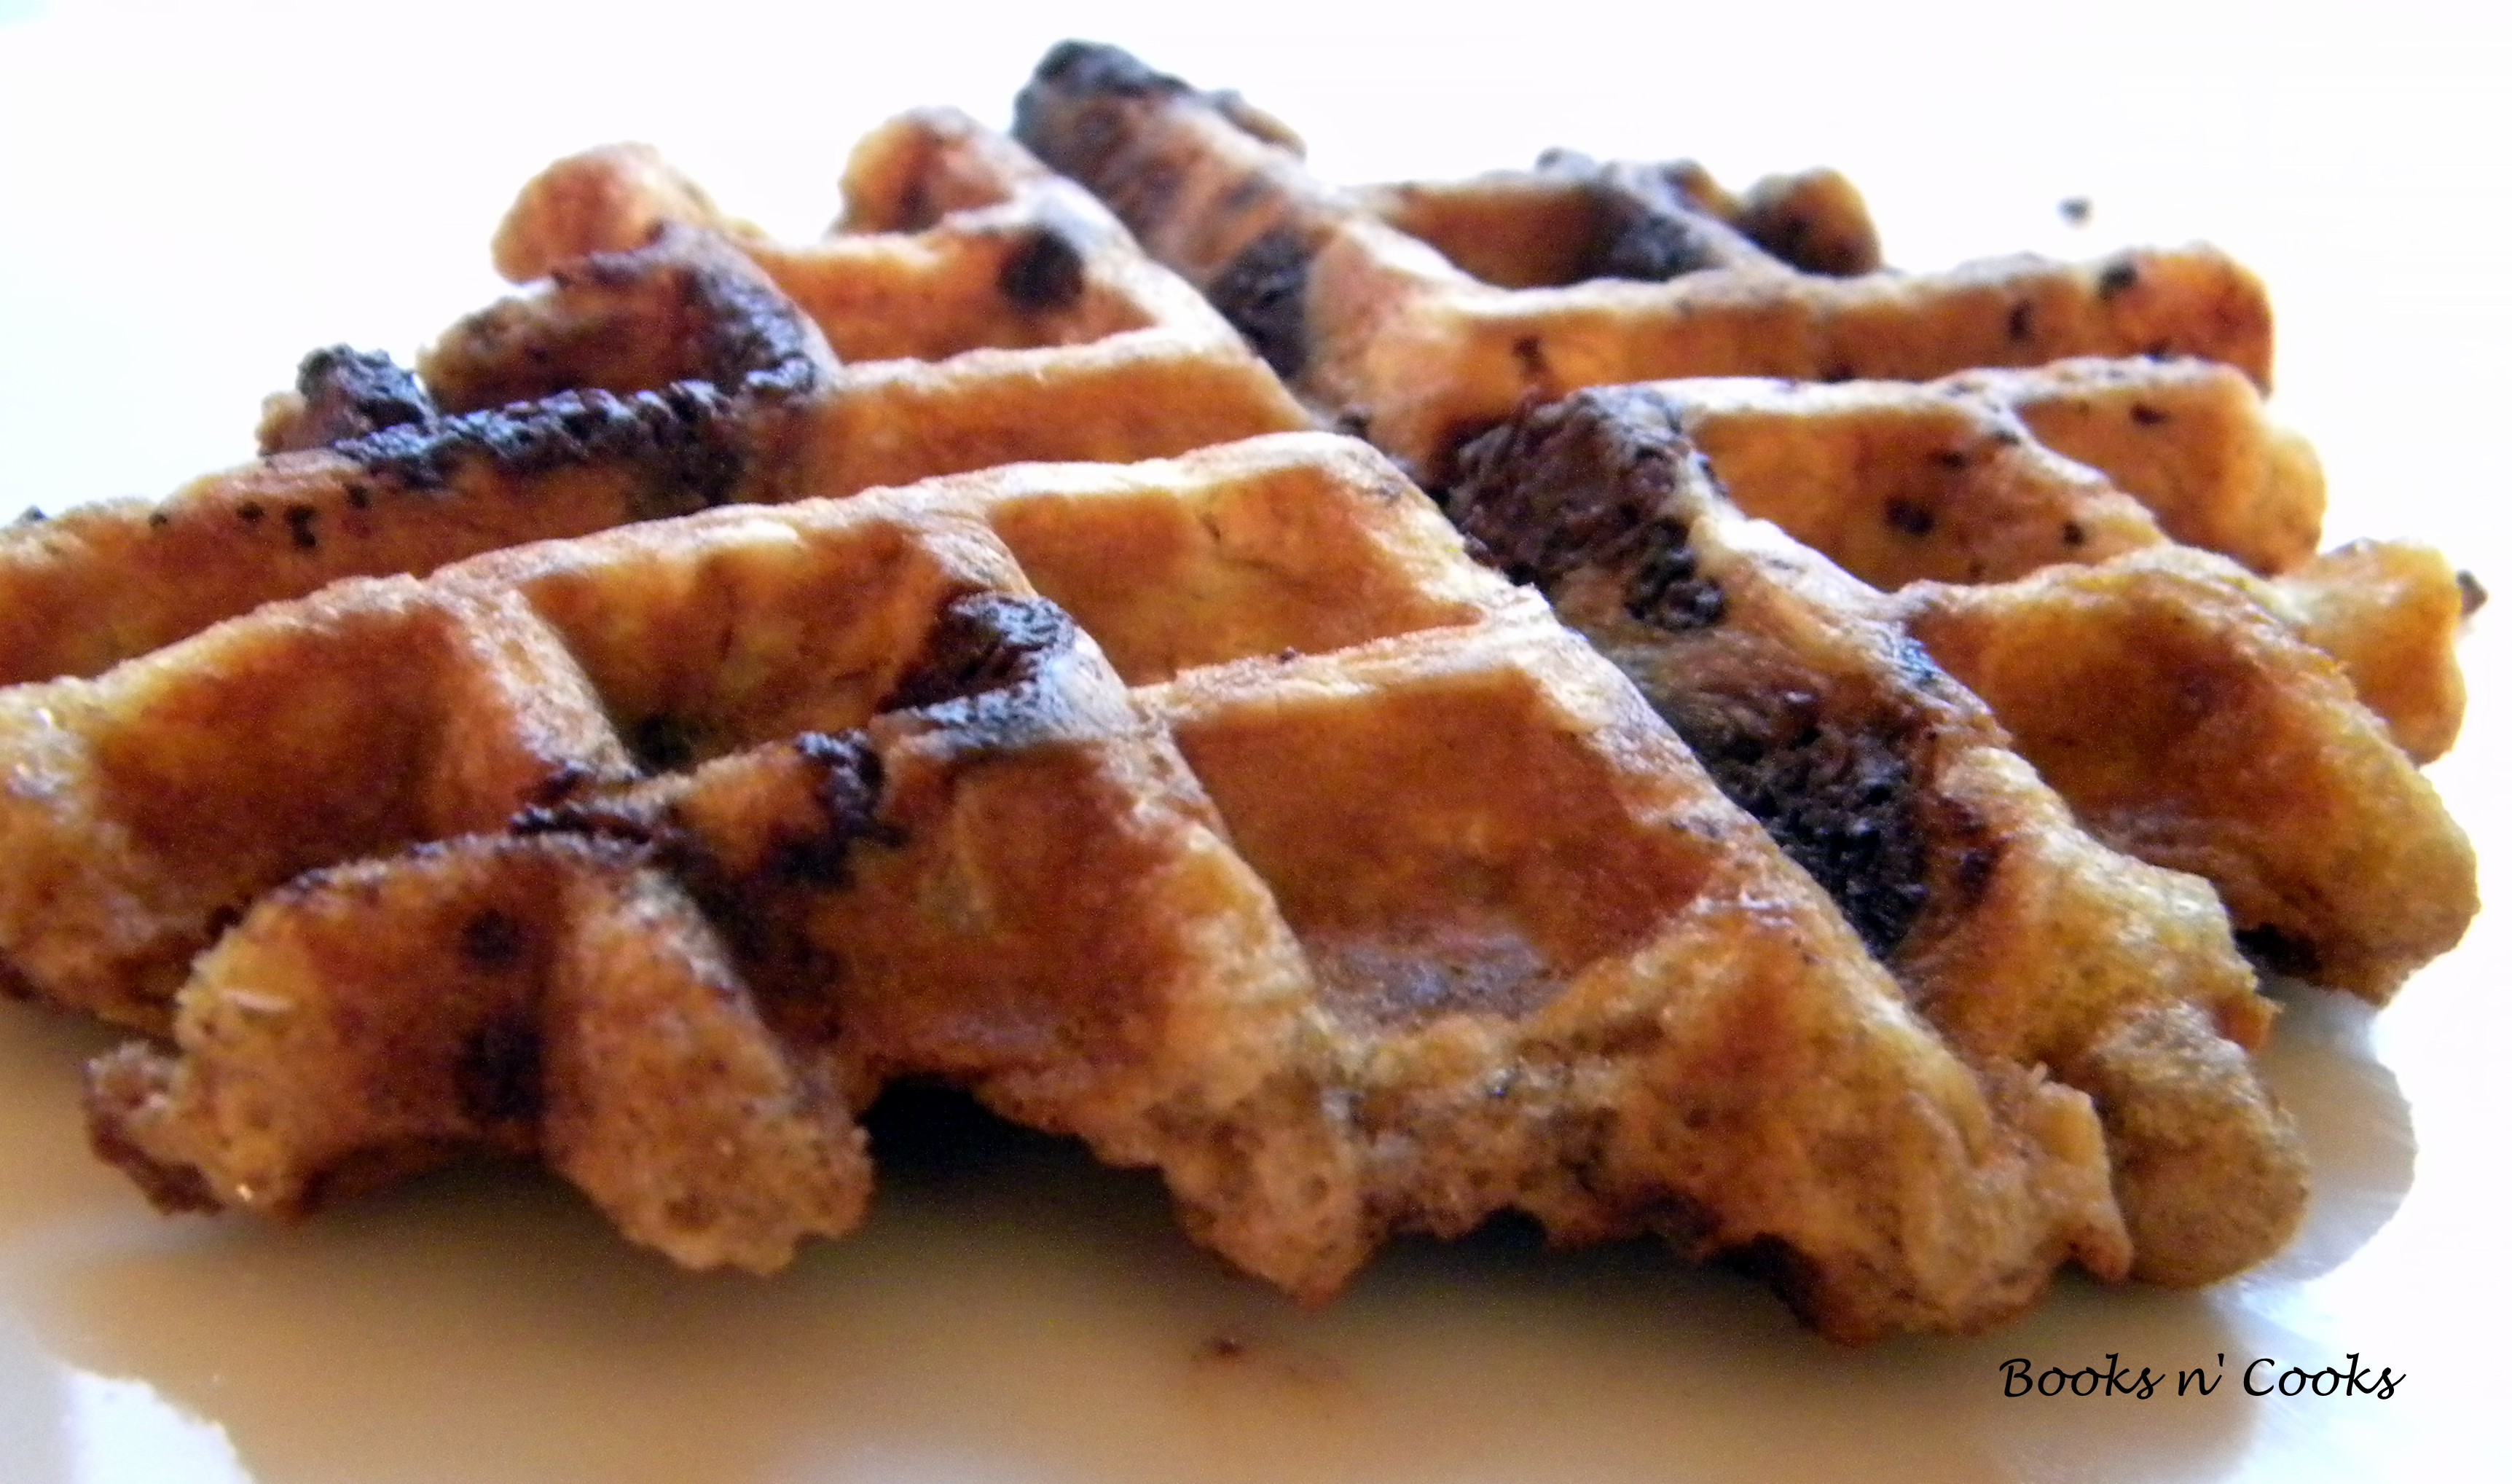
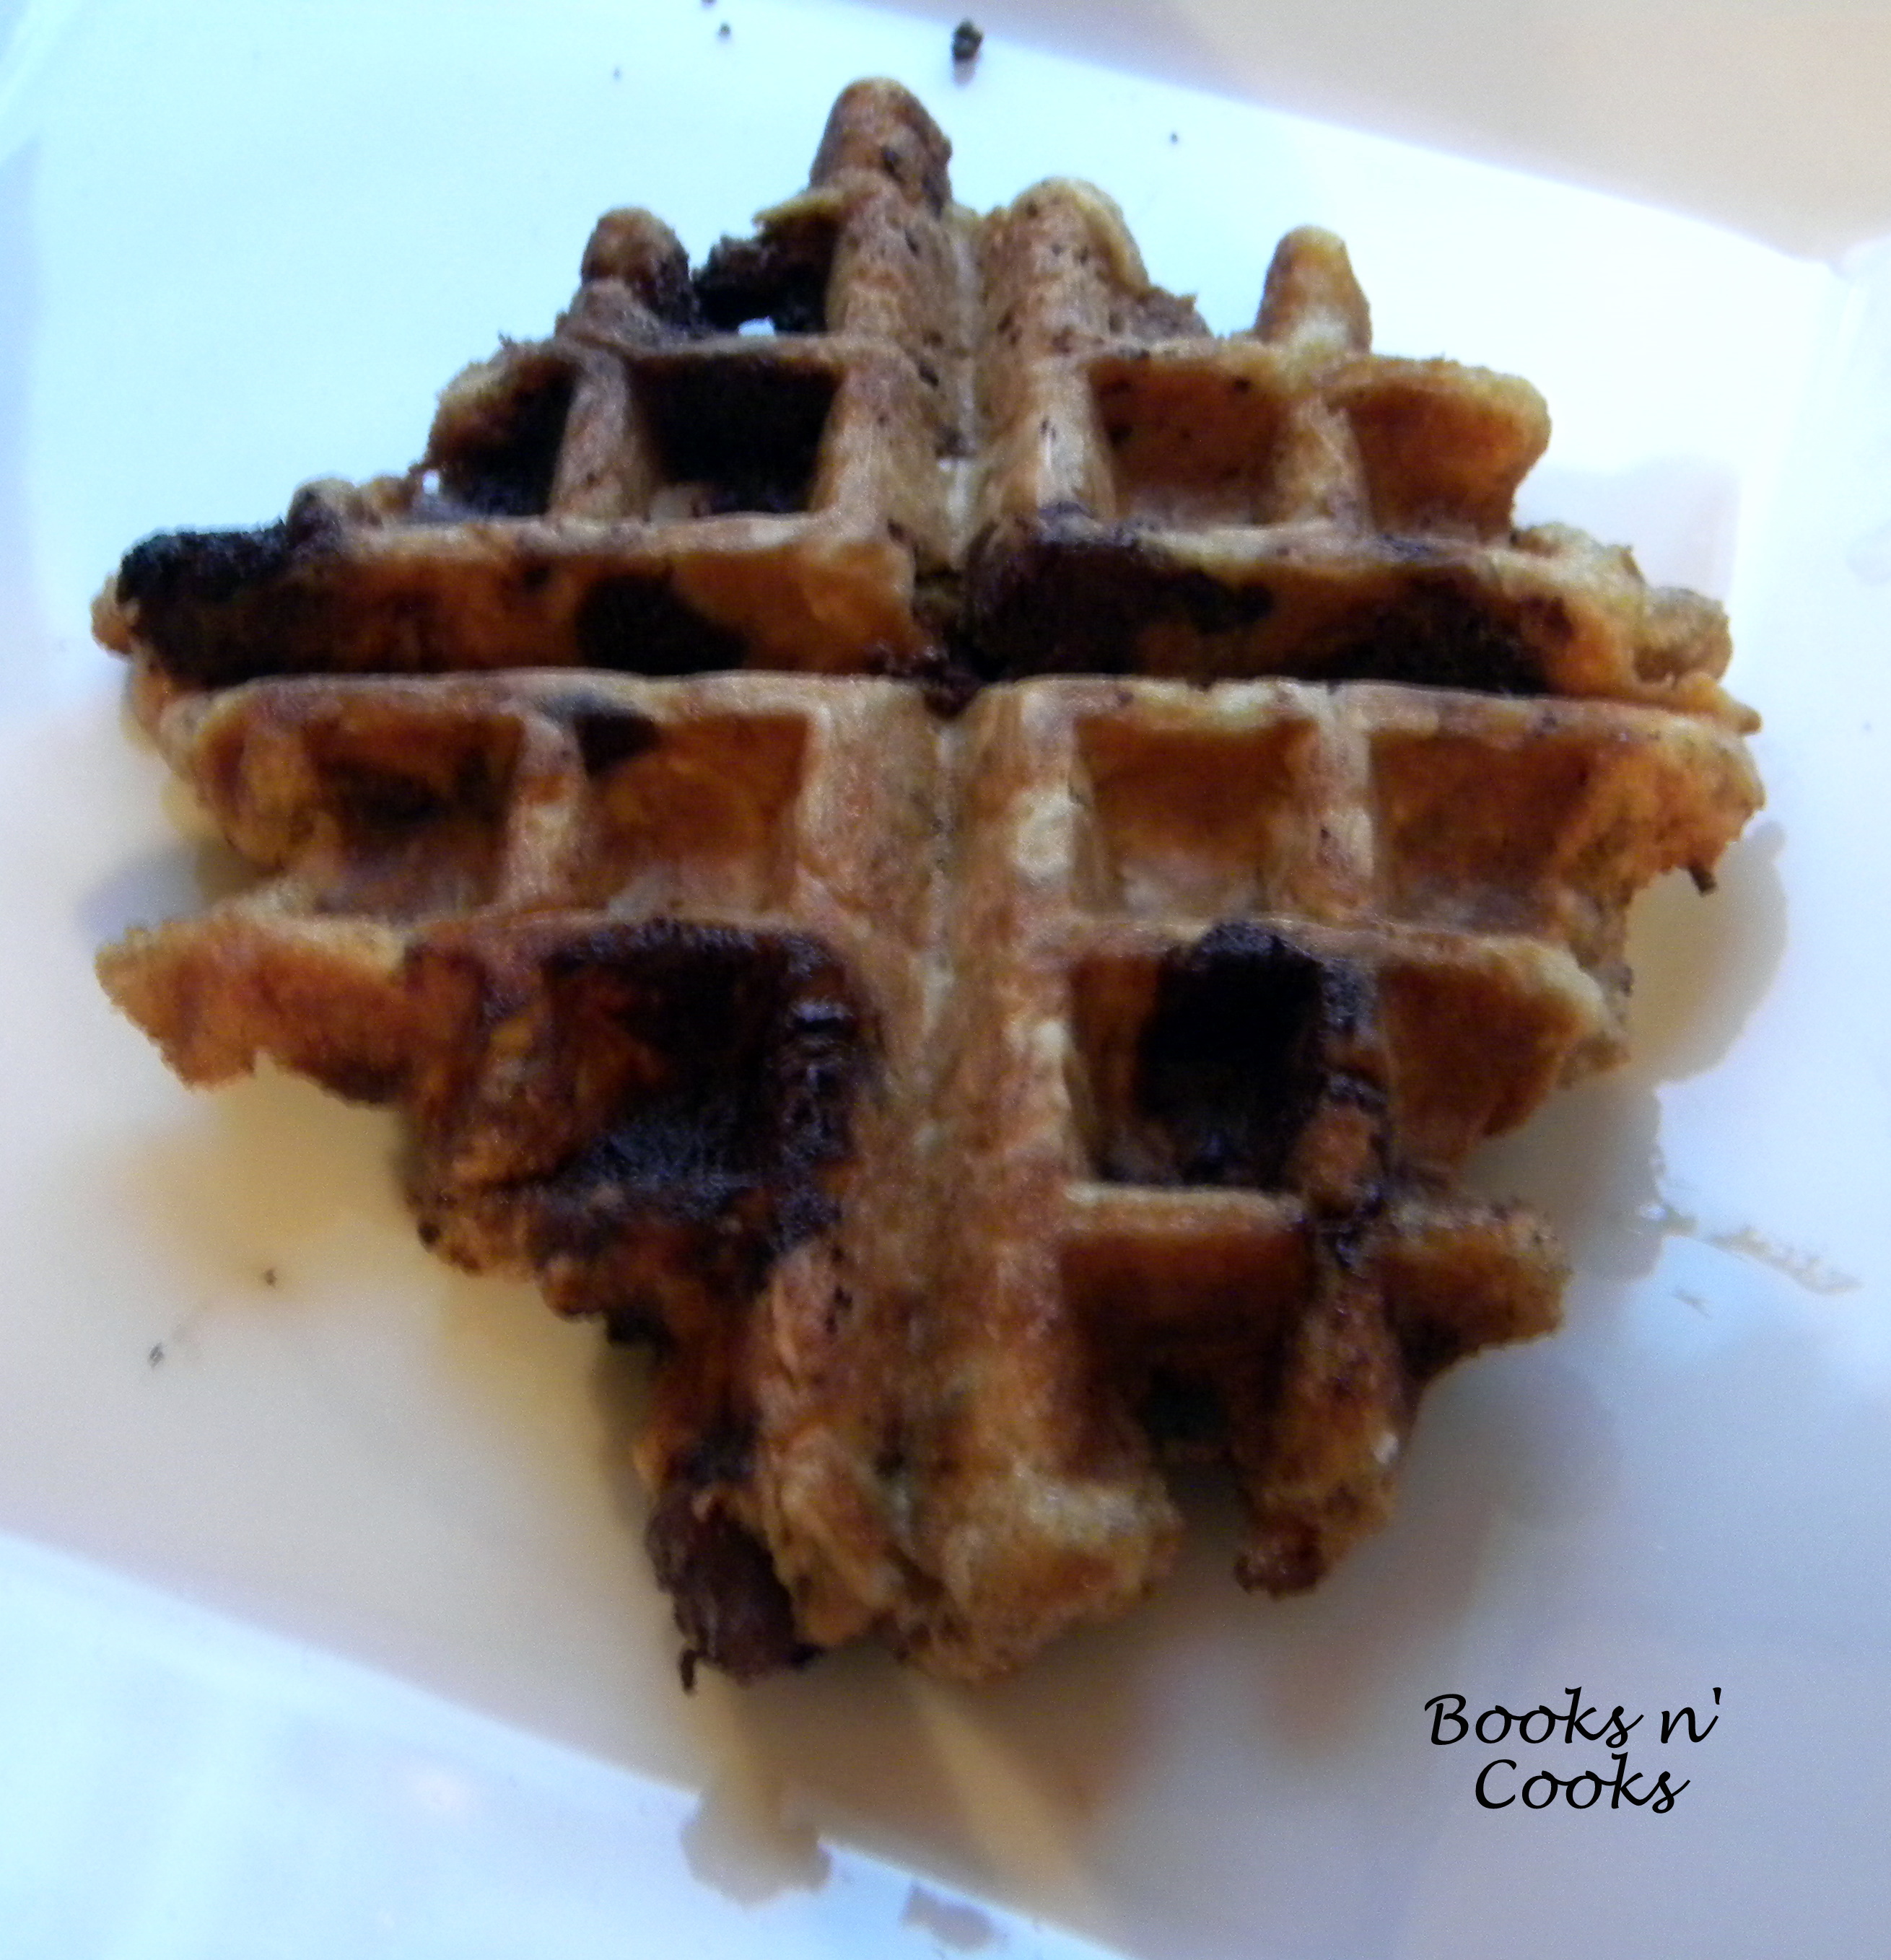
Oatmeal Chocolate Chip Waffle Cookies

Yes, you read the title of this post correct…. this recipe popped up in my Facebook updates page, compliments of Fine Cooking. I was curious and craving something sweet, so here you go. A half batch of these cookies, even cooking them one at a time, took only 15 minutes to make. The texture did remind me a lot of waffles. There were a little crunchier than normal oatmeal cookies, but received rave reviews from friends.

Oatmeal Chocolate Chip Waffle Cookies

Found on Fine Cooking, from the book Dessert Express by Lauren Chattman

Makes 1-2 dozen cookies

Ingredients:

  • 1/2 c. (1 stick) unsalted butter, melted
  • 1/2 c. plus 2 Tbs. firmly packed light brown sugar
  • 2 large eggs
  • 1 tsp. vanilla extract
  • 3/4 c. all-purpose flour
  • 1/2 tsp. baking soda
  • 1/4 tsp. salt
  • 1-1/2 c. old-fashioned rolled oats (not instant)
  • 1 c. semisweet chocolate chips
  • Nonstick cooking spray

Heat waffle iron. With 5 heating settings, mine was set to 3.5.

Whisk together butter and brown sugar until smooth. Whisk in eggs and vanilla. Add flour, baking soda, and salt, whisking together.

Switch to a rubber spatula and stir in oats and chocolate chips.

Spray waffle iron with cooking spray. Using a tablespoon or small ice cream scoop, drop dough, one cookie at a time, onto waffle iron. Cook for 1-1/2 – 3 minutes, depending on the heat of the waffle iron. At my setting, it took about 2 minutes until the light went out. The cookies were nicely browned.

Using a fork and thin spatula, transfer cookies to a wire rack to cool.

Continue baking cookies until finished, reapplying the cooking spray as needed.

With a half a batch and a small ice cream scoop, I got 8-9 cookies.

Jam Thumbprint Cookies

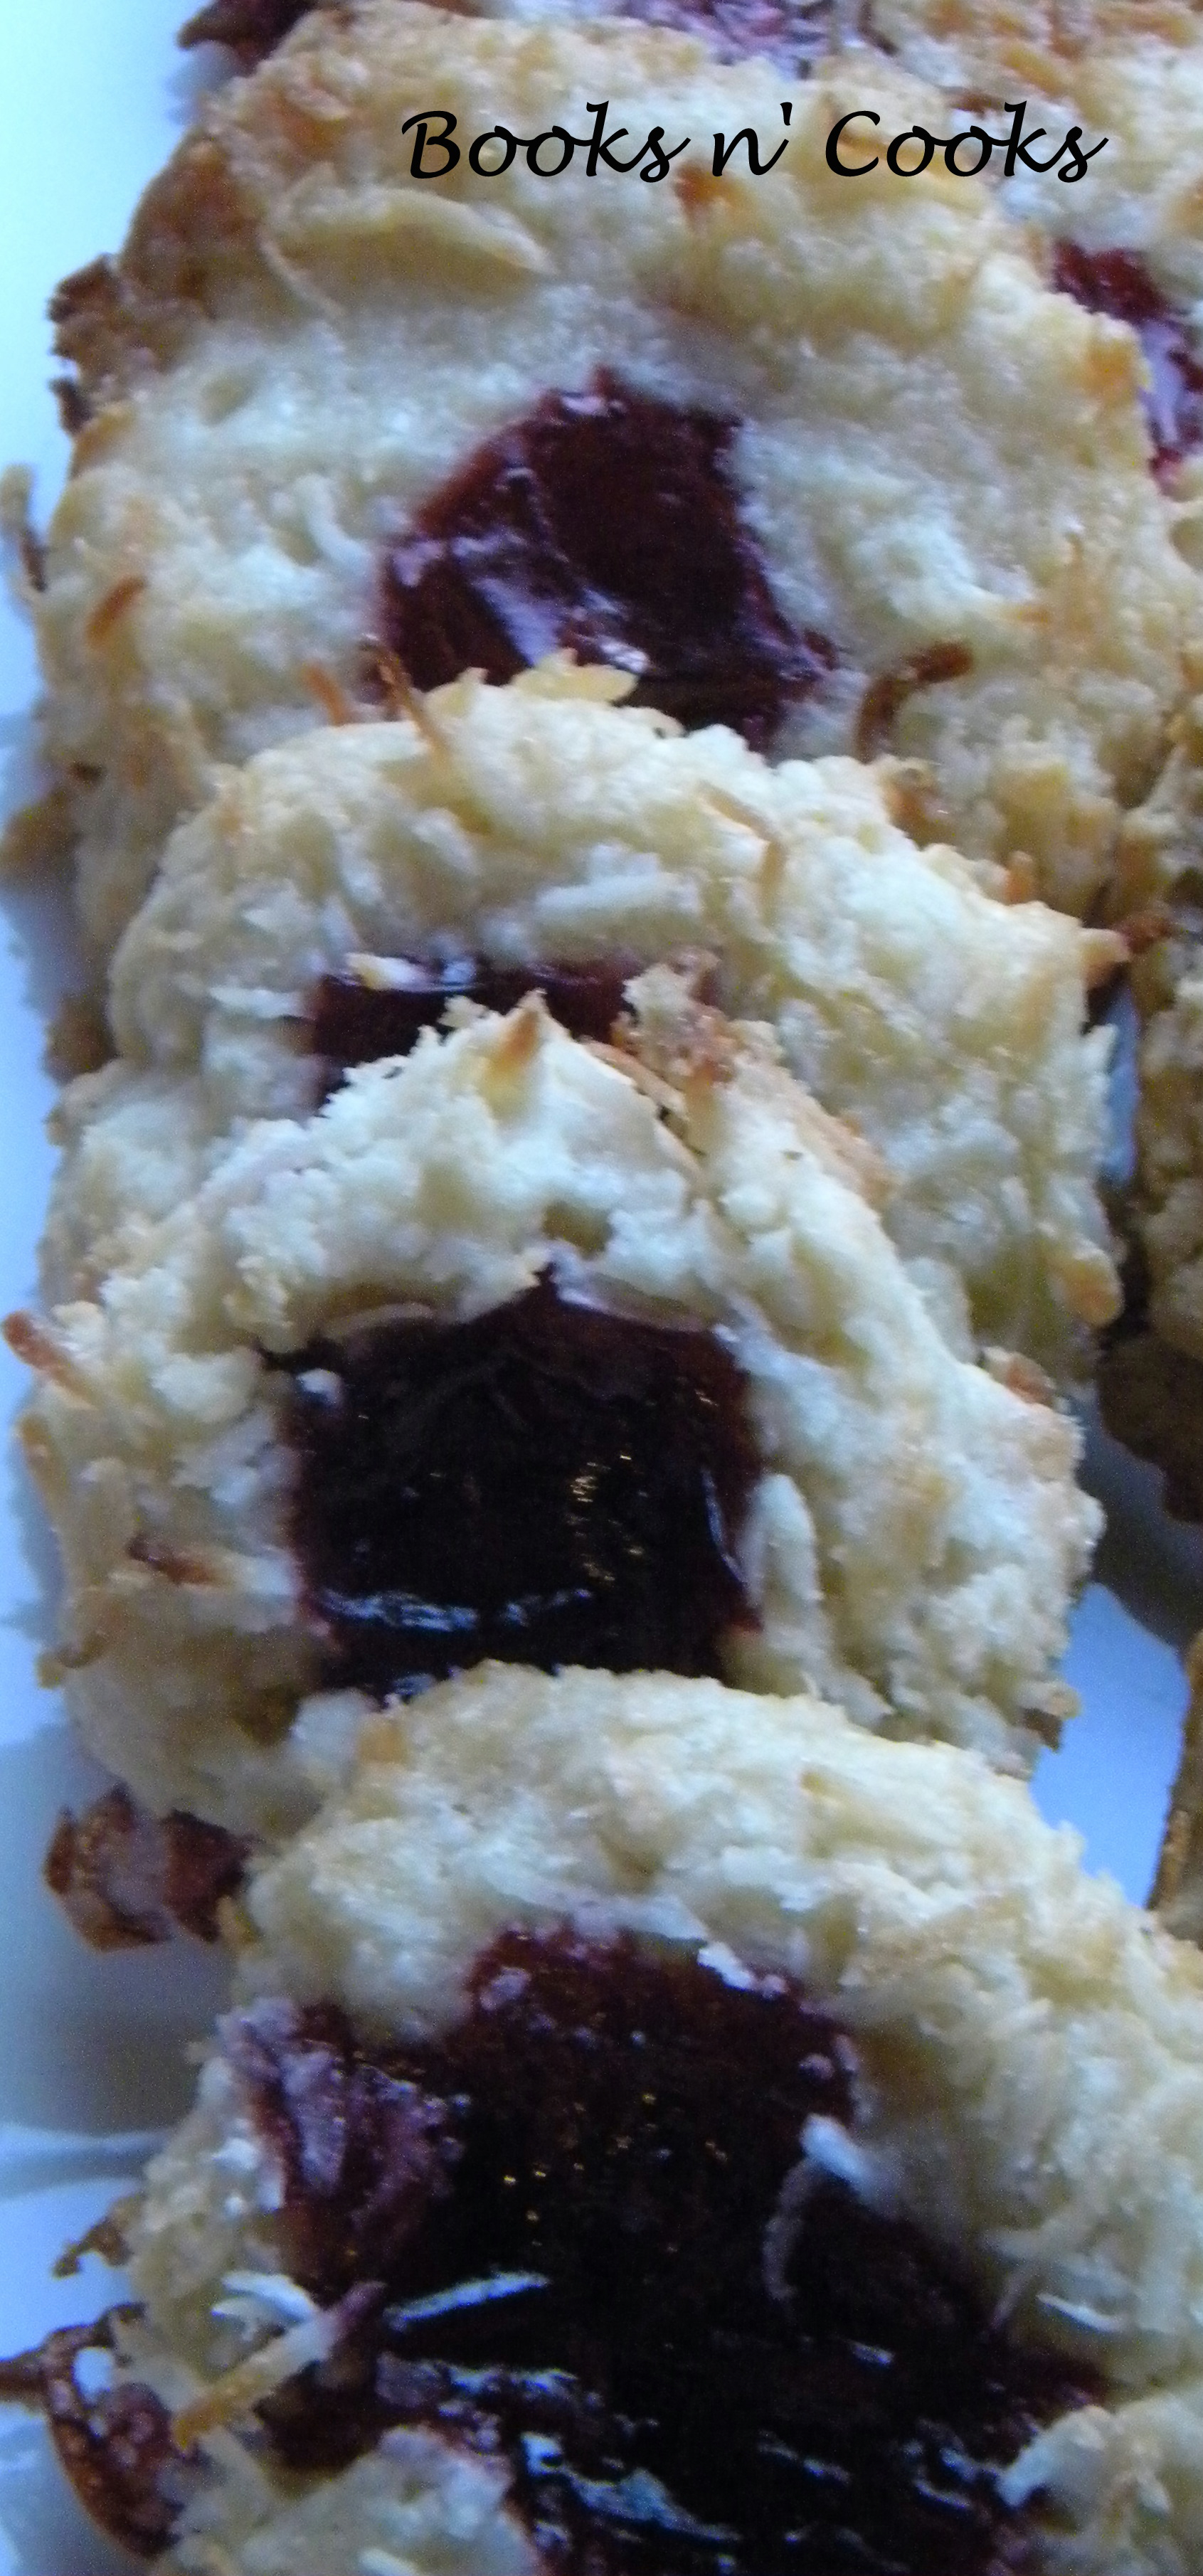
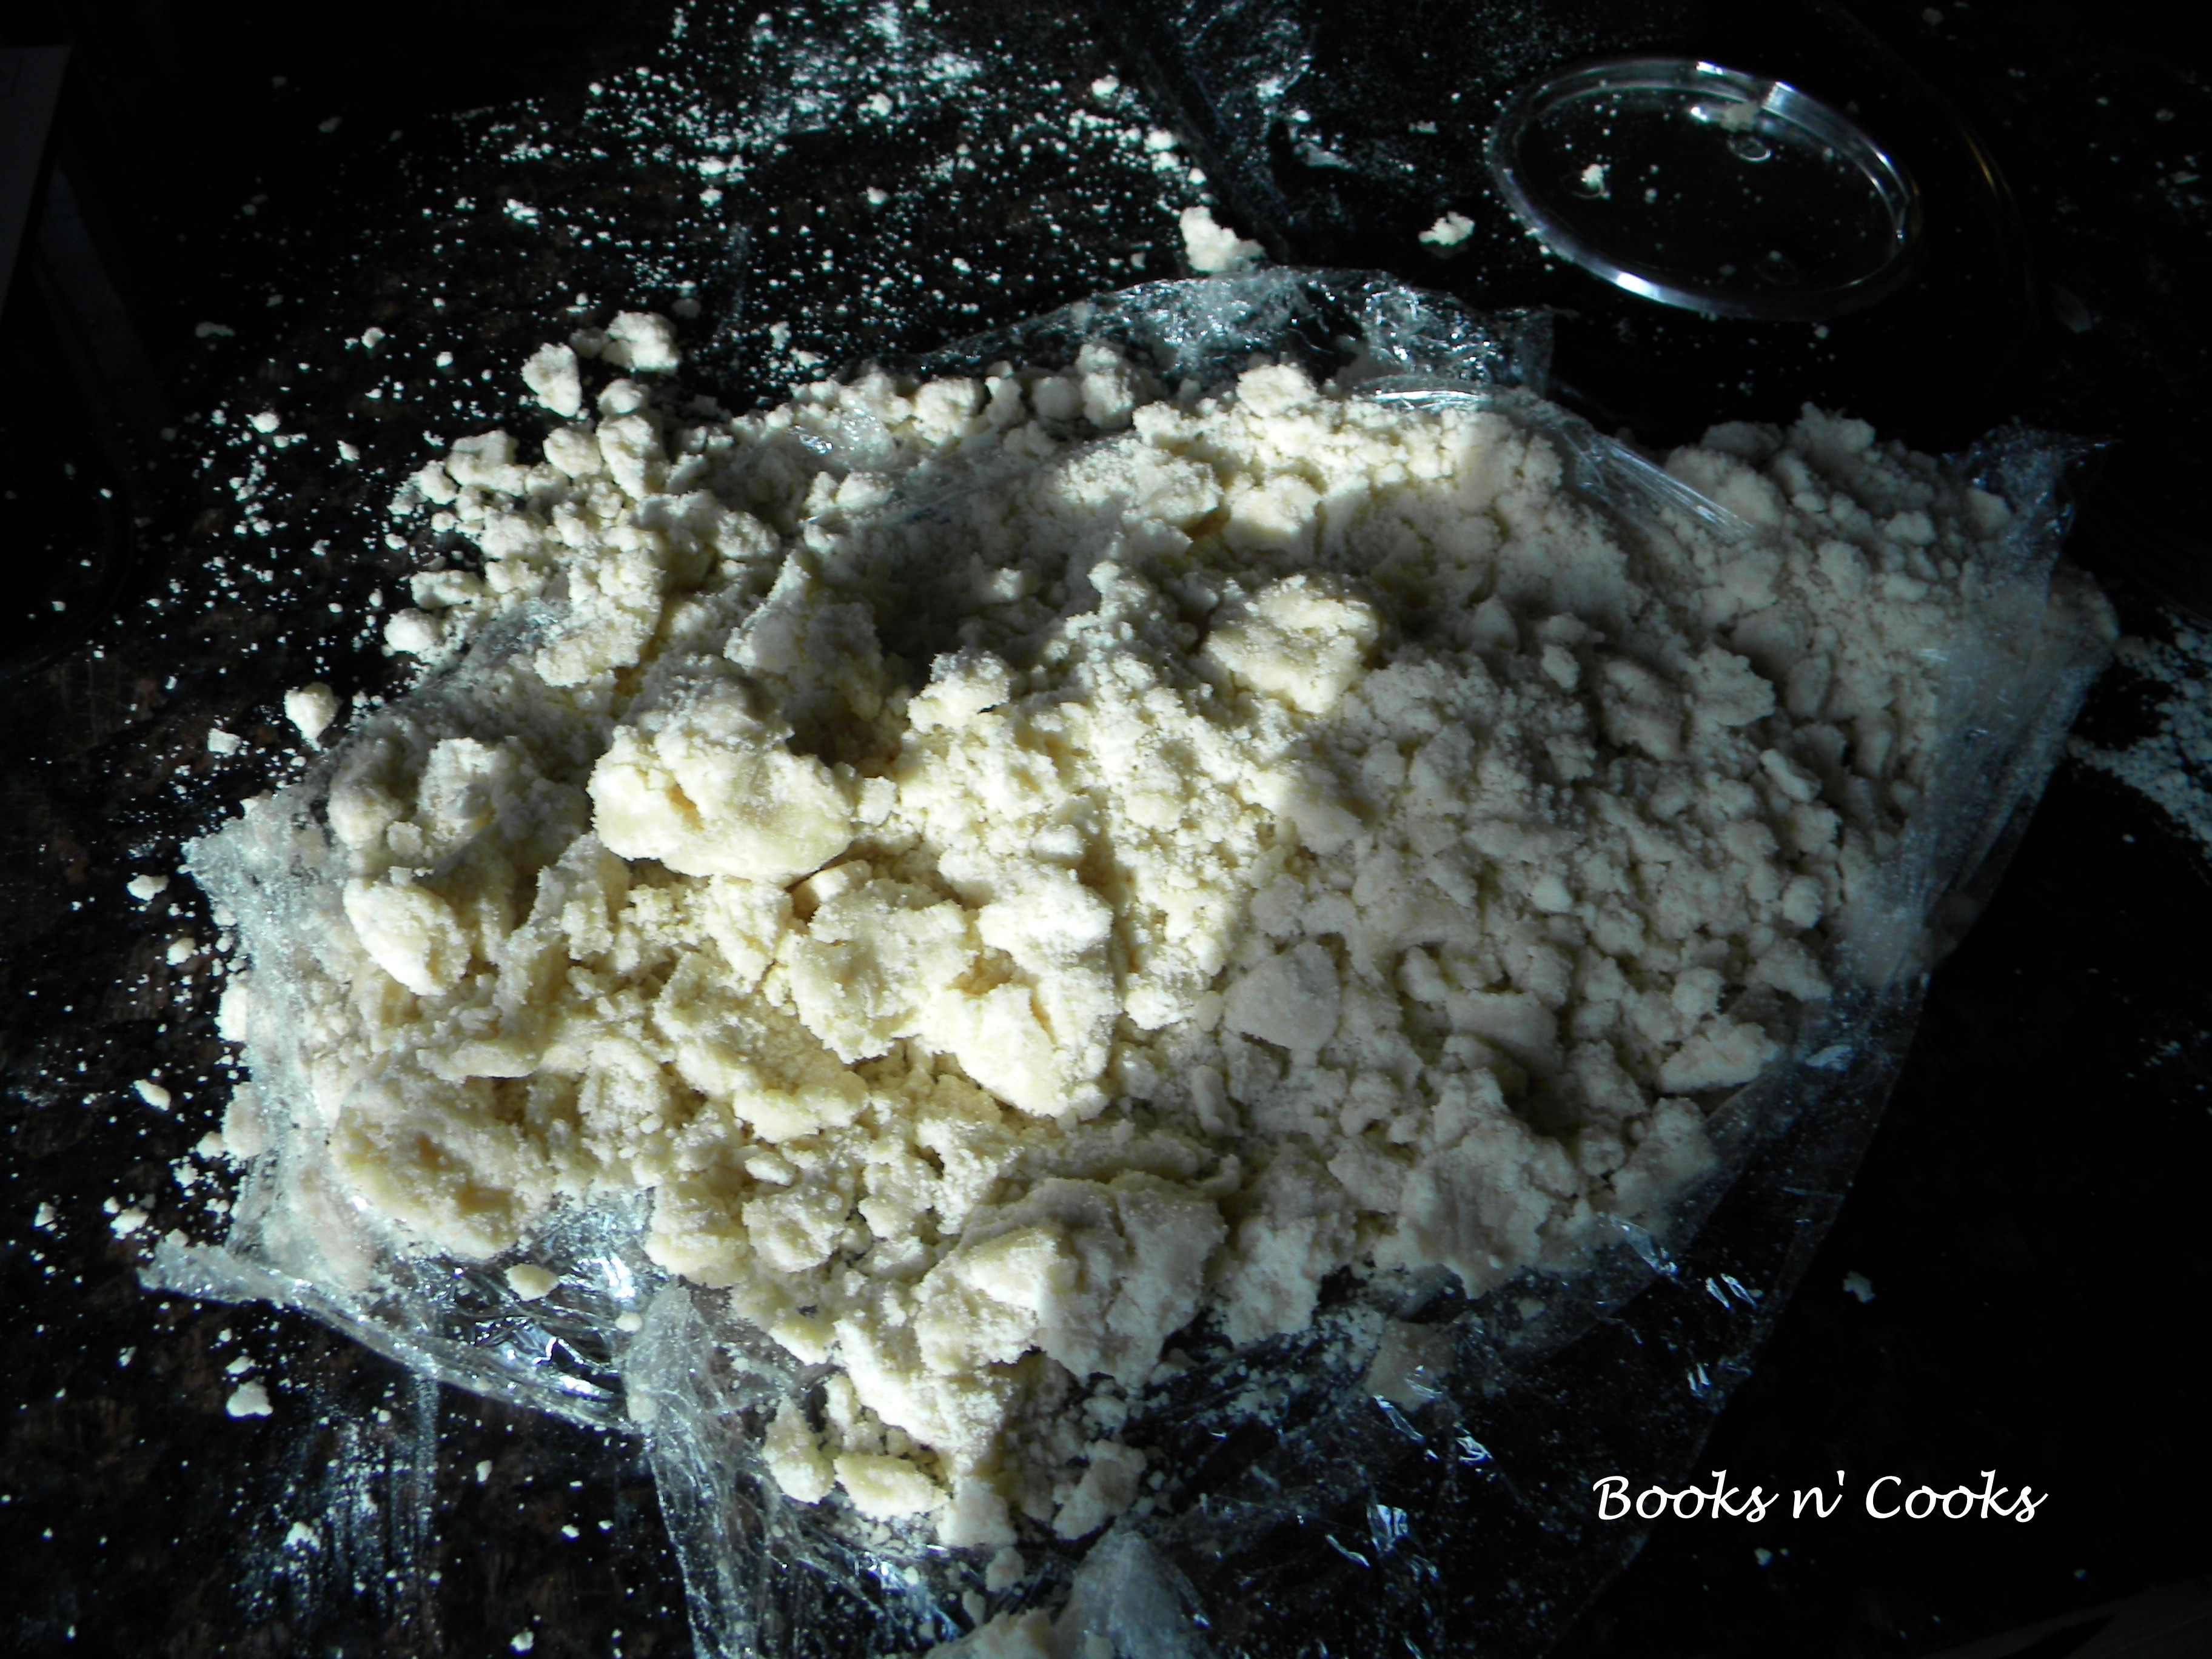
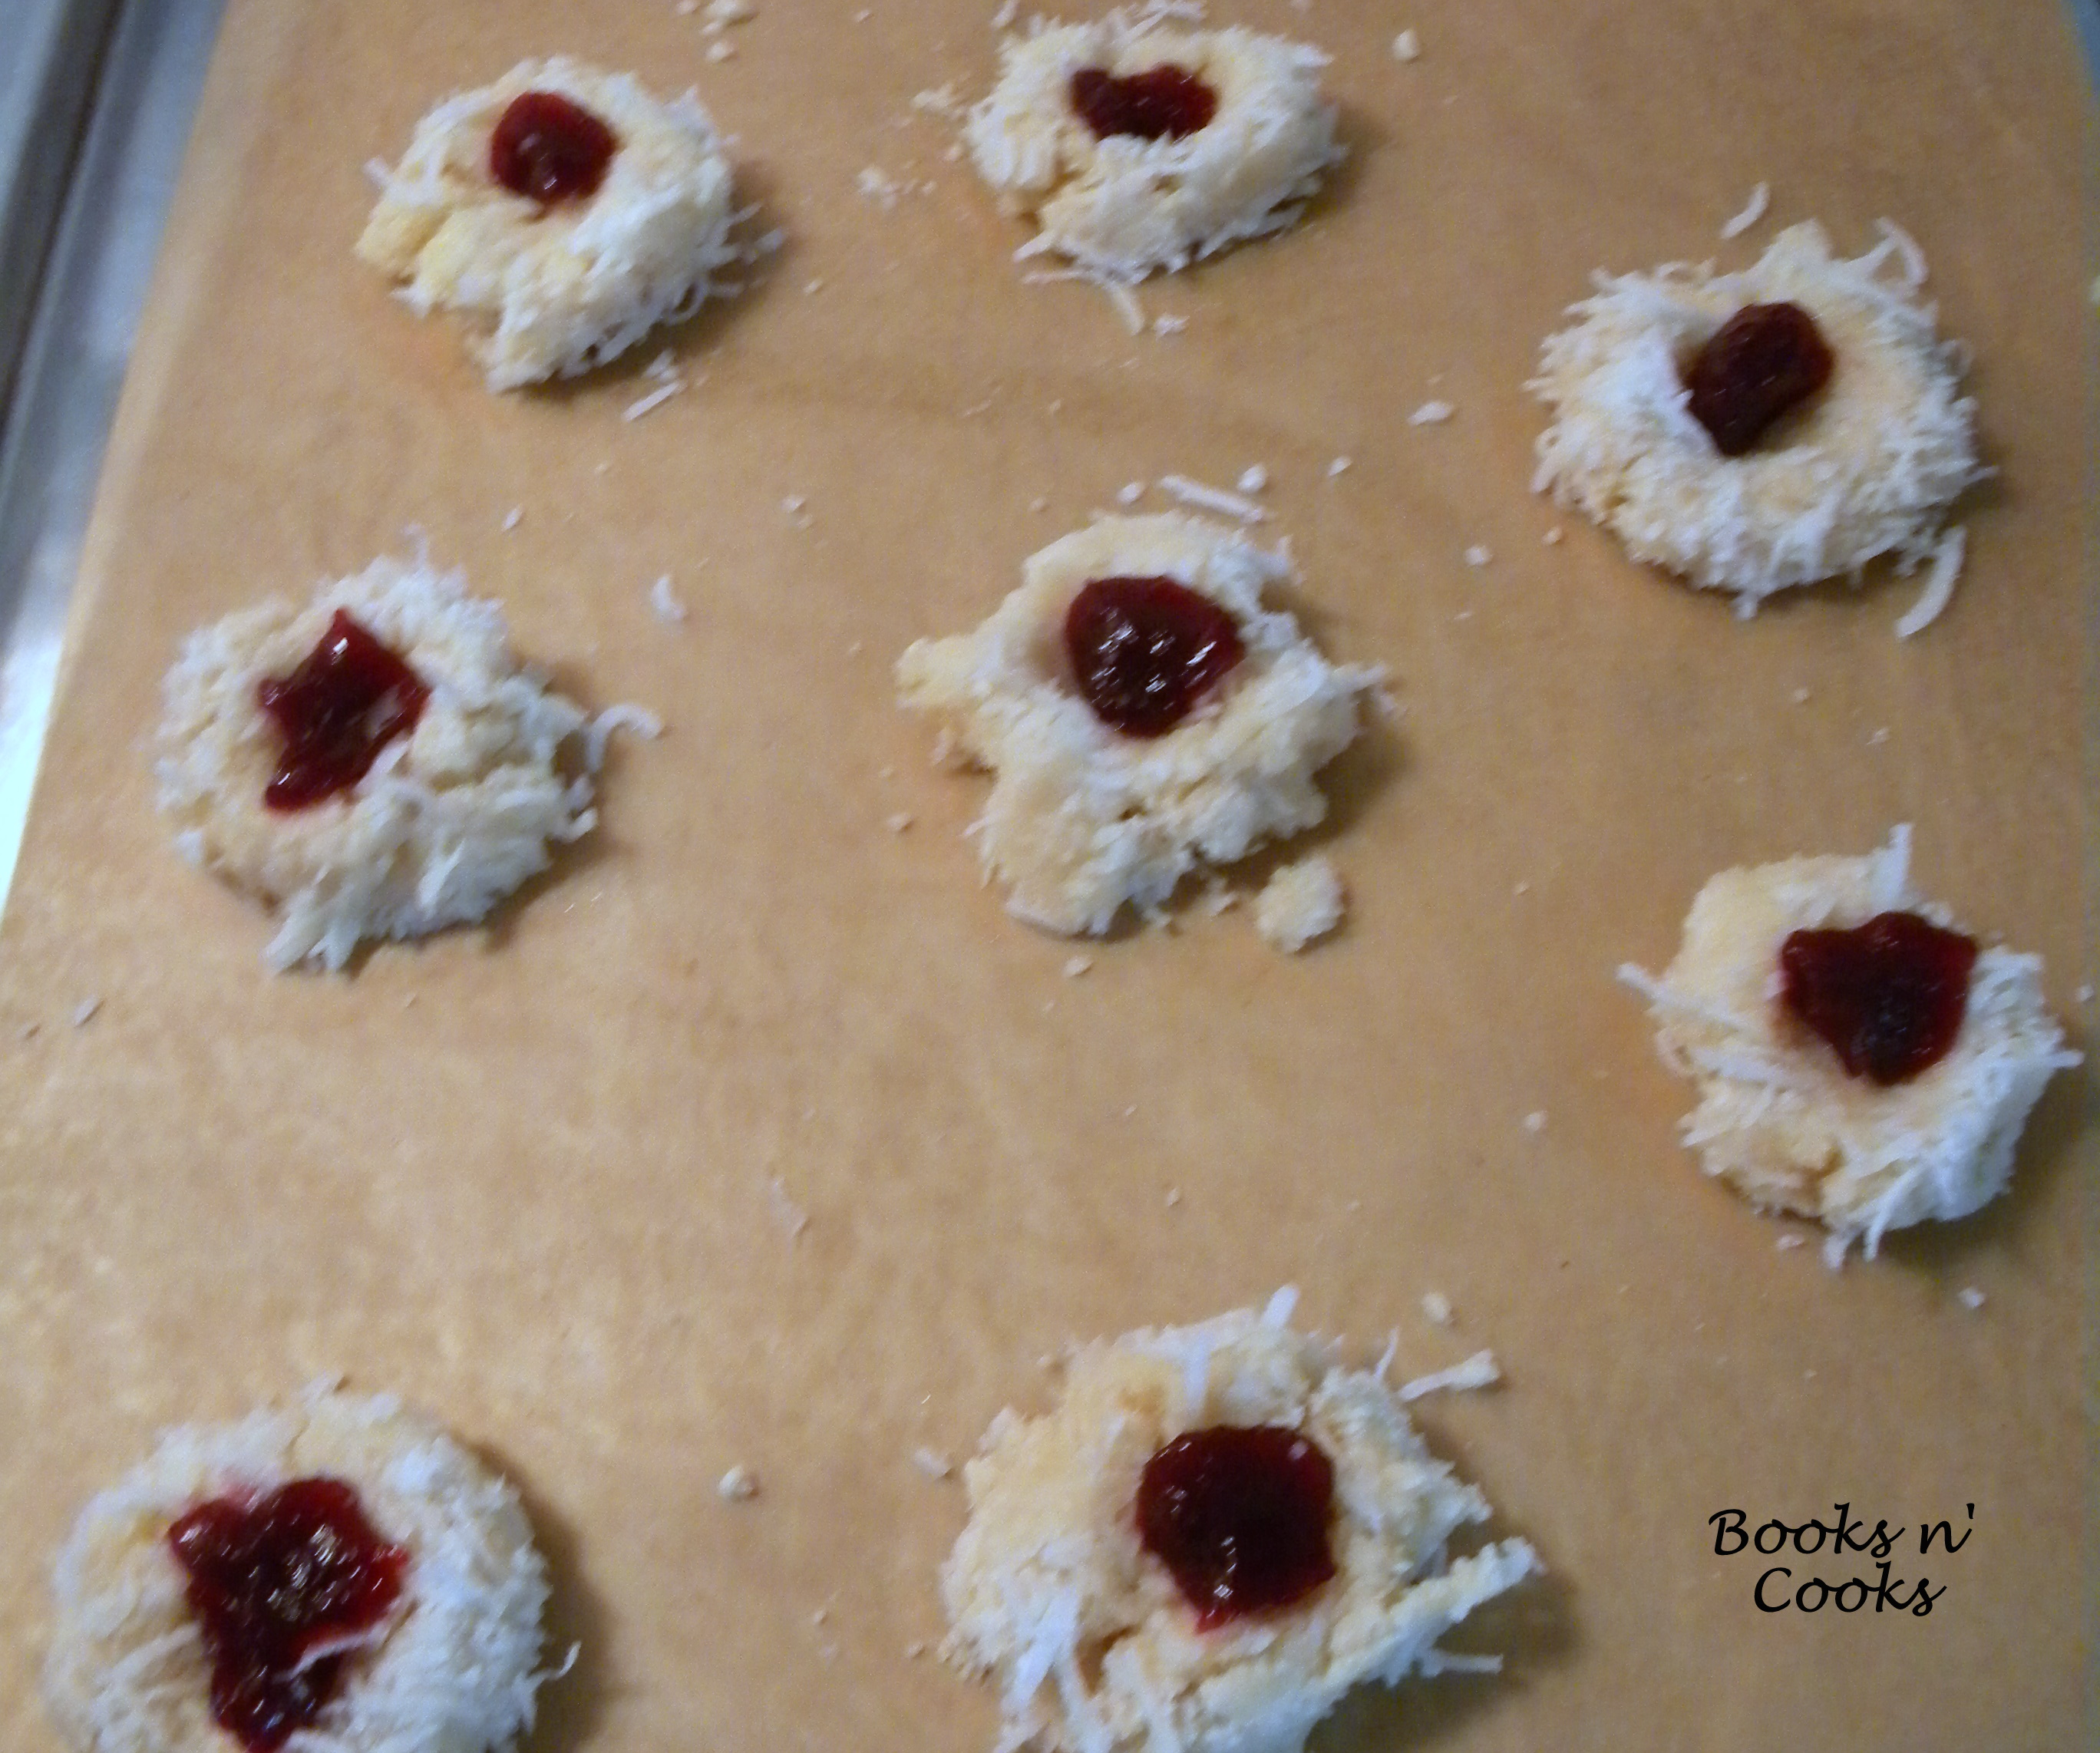
I was so very excited to make these Jam Thumbprints for the latest Barefoot Bloggers pick, but so sad with how they came out. Don’t get me wrong, the 8 that turned out were sooo good, but my dough didn’t turn out correctly. I ended up with a crumbly mess. I delayed this post in hopes that I’d be able to give the cookies another shot, but never got around to it. My best guess was that the temperature of my butter wasn’t quite right. If anyone has made them, can you share the secret to your success?

I’ll guess I’ll be sticking these back in the pile to make at a later date.

Jam Thumbprint Cookies

Adapted from Barefoot Contess’s  Family Style

also found on Food Network

Ingredients:

  • 3/4 lb. (3 sticks) unsalted butter, at room temperature
  • 1 c. sugar
  • 1 tsp. pure vanilla extract
  • 3 1/2 c. flour
  • 1/4 tsp. kosher salt
  • 1 egg beaten with 1 Tbs. water, for egg wash
  • 7 oz. sweetened flaked coconut
  • Blackberry jam (or any other type, as long as its jam and not preserves)

Make the Dough: In an electric mixer fitted with the paddle attachment, combine butter and sugar. Add vanilla. With the mixer on law, sift in flour and salt. Mix only until dough just starts to come together.

Flour a board or counter and dump dough onto board. Roll together into a flat disk (here’s where my crumbly mess created problems for me!

Refrigerate: Wrap in plastic wrap and refrigerate for 30 minutes.

Meanwhile, preheat oven to 350F, line a baking sheet with parchment paper, and make egg wash.

Make the Cookies: Roll dough into 1 1/4-inch balls (about 1 oz. each if you were to weigh them). Dip each ball in egg wash and then roll in coconut. Placed balls on prepared baking sheet. With the top of your finger, make a little indentation or dip in the top of the cookie. Drop 1/4 tsp. of jam into each indentation.

Bake 20-25 minutes, or until coconut has browned. Allow to cool for a few minutes on the baking sheet before moving to a wire rack to cool completely.

Rocky Ledge Bars

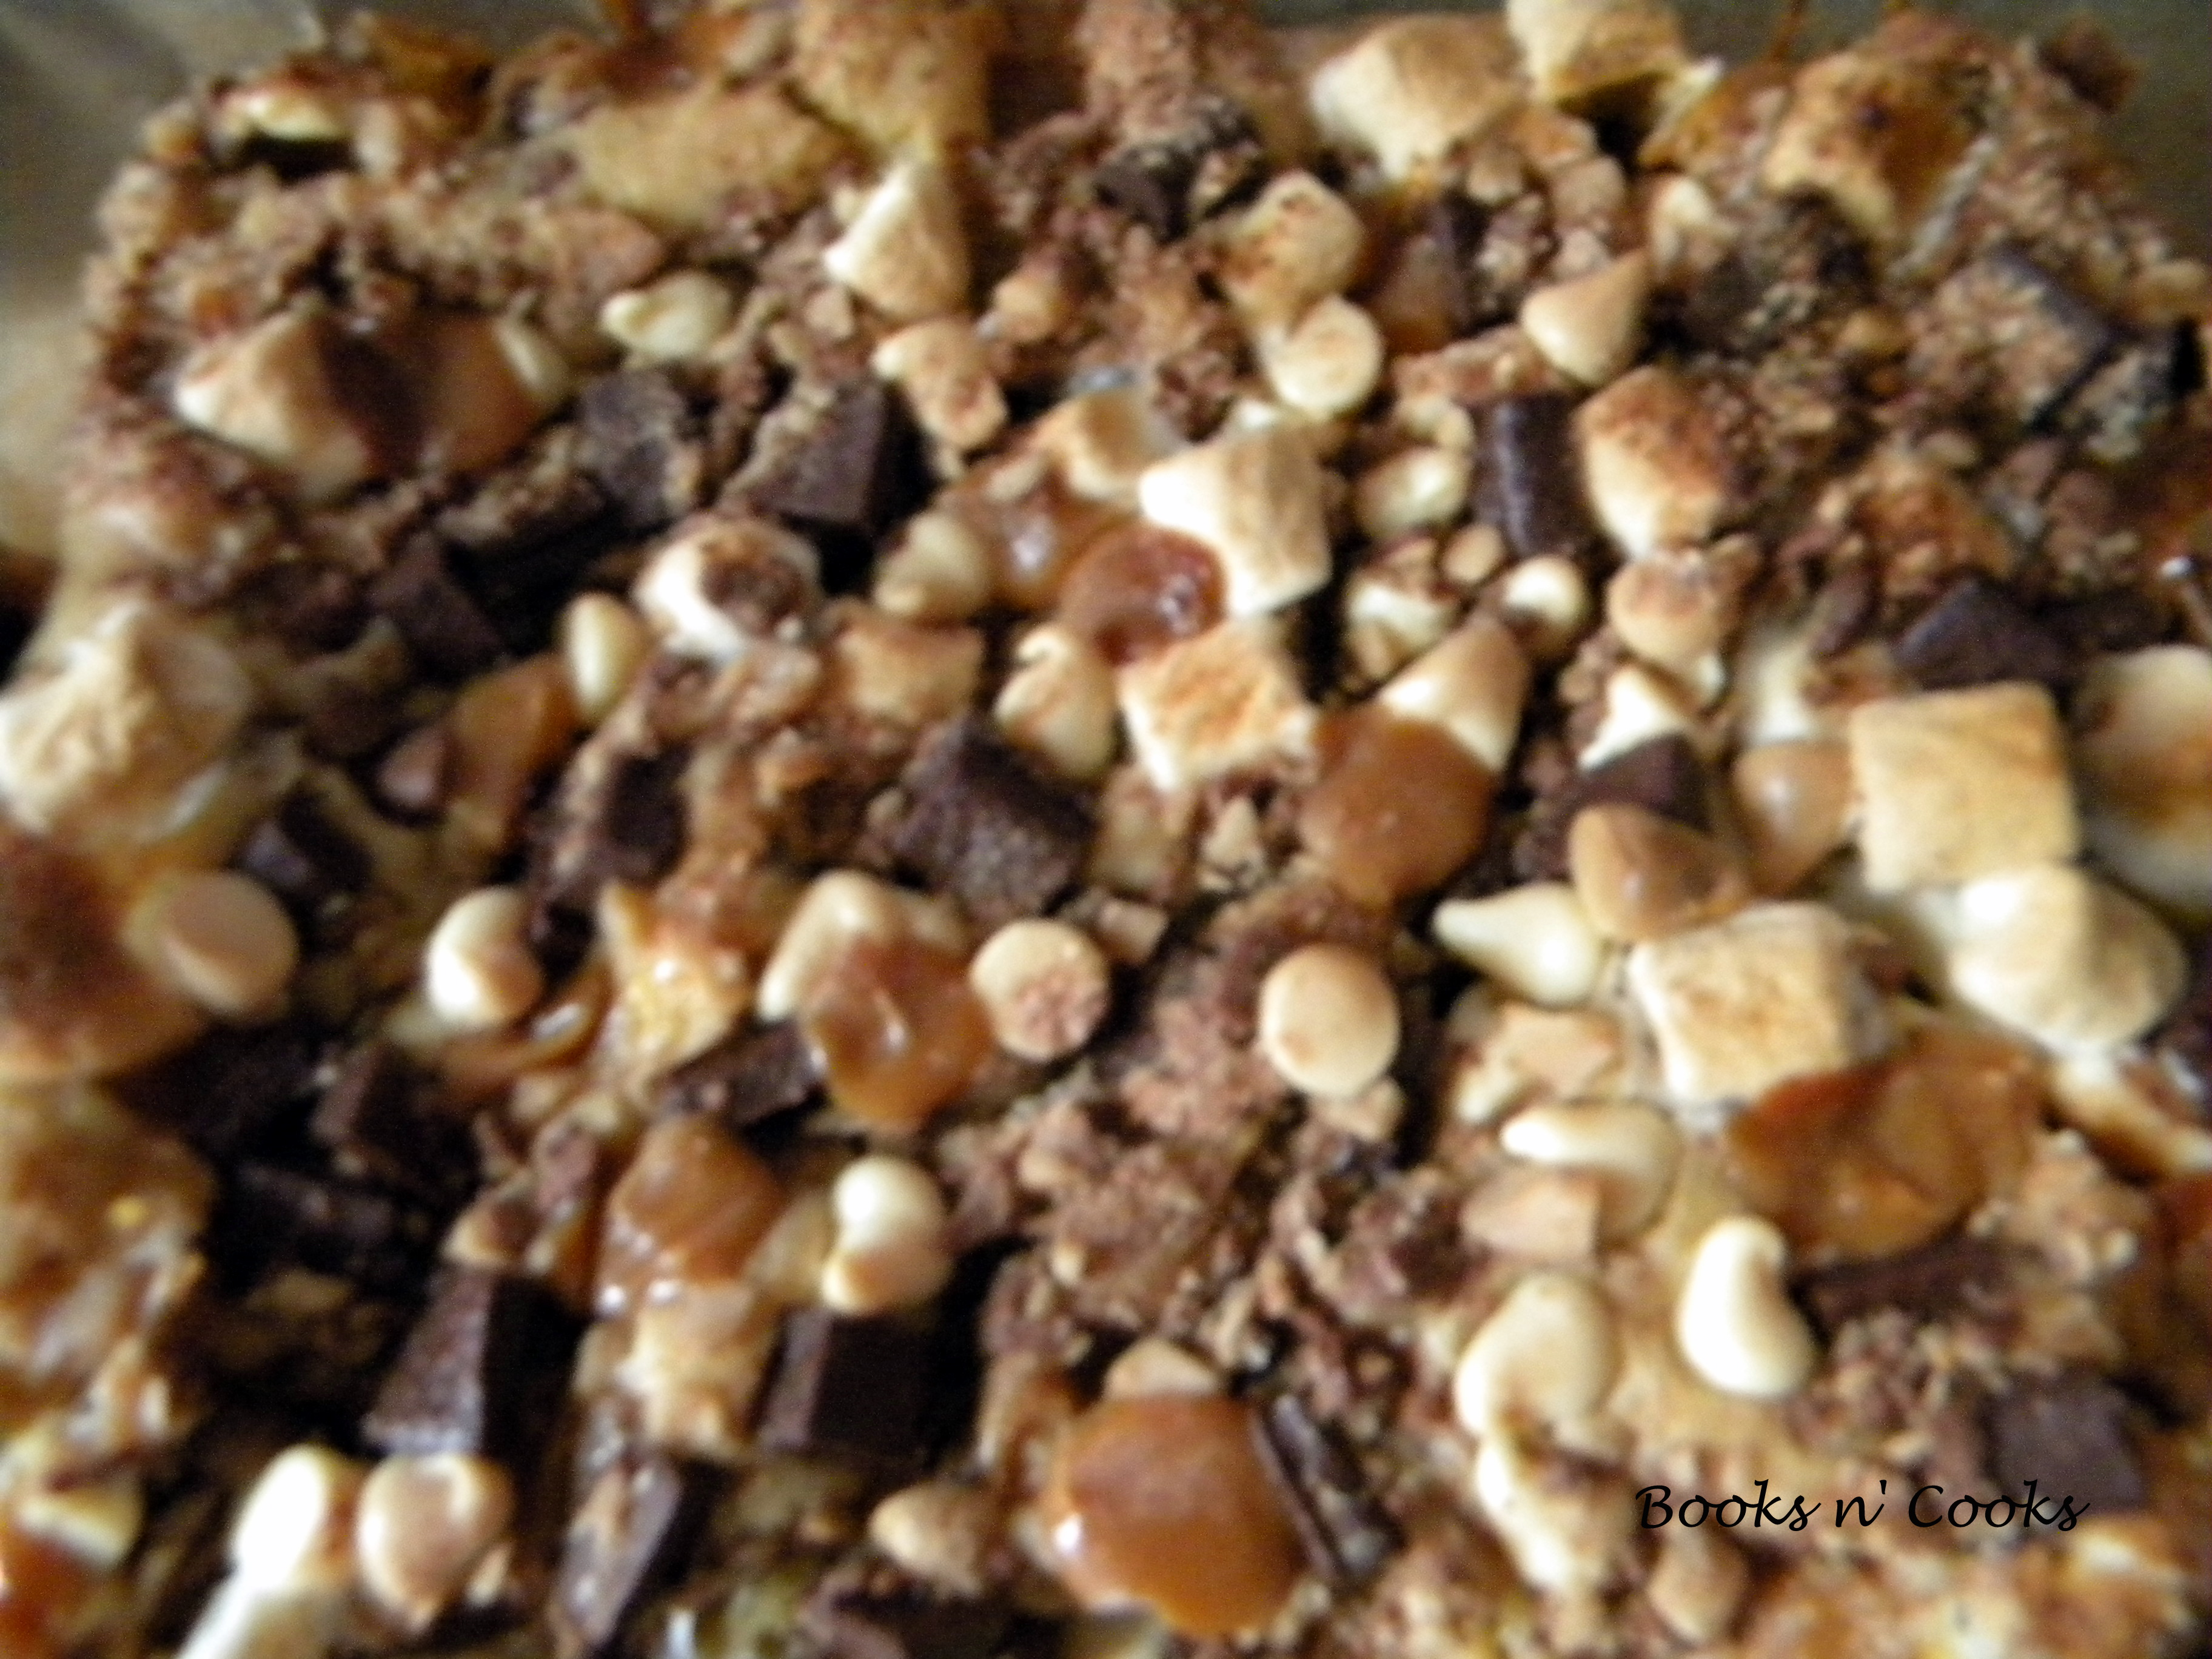
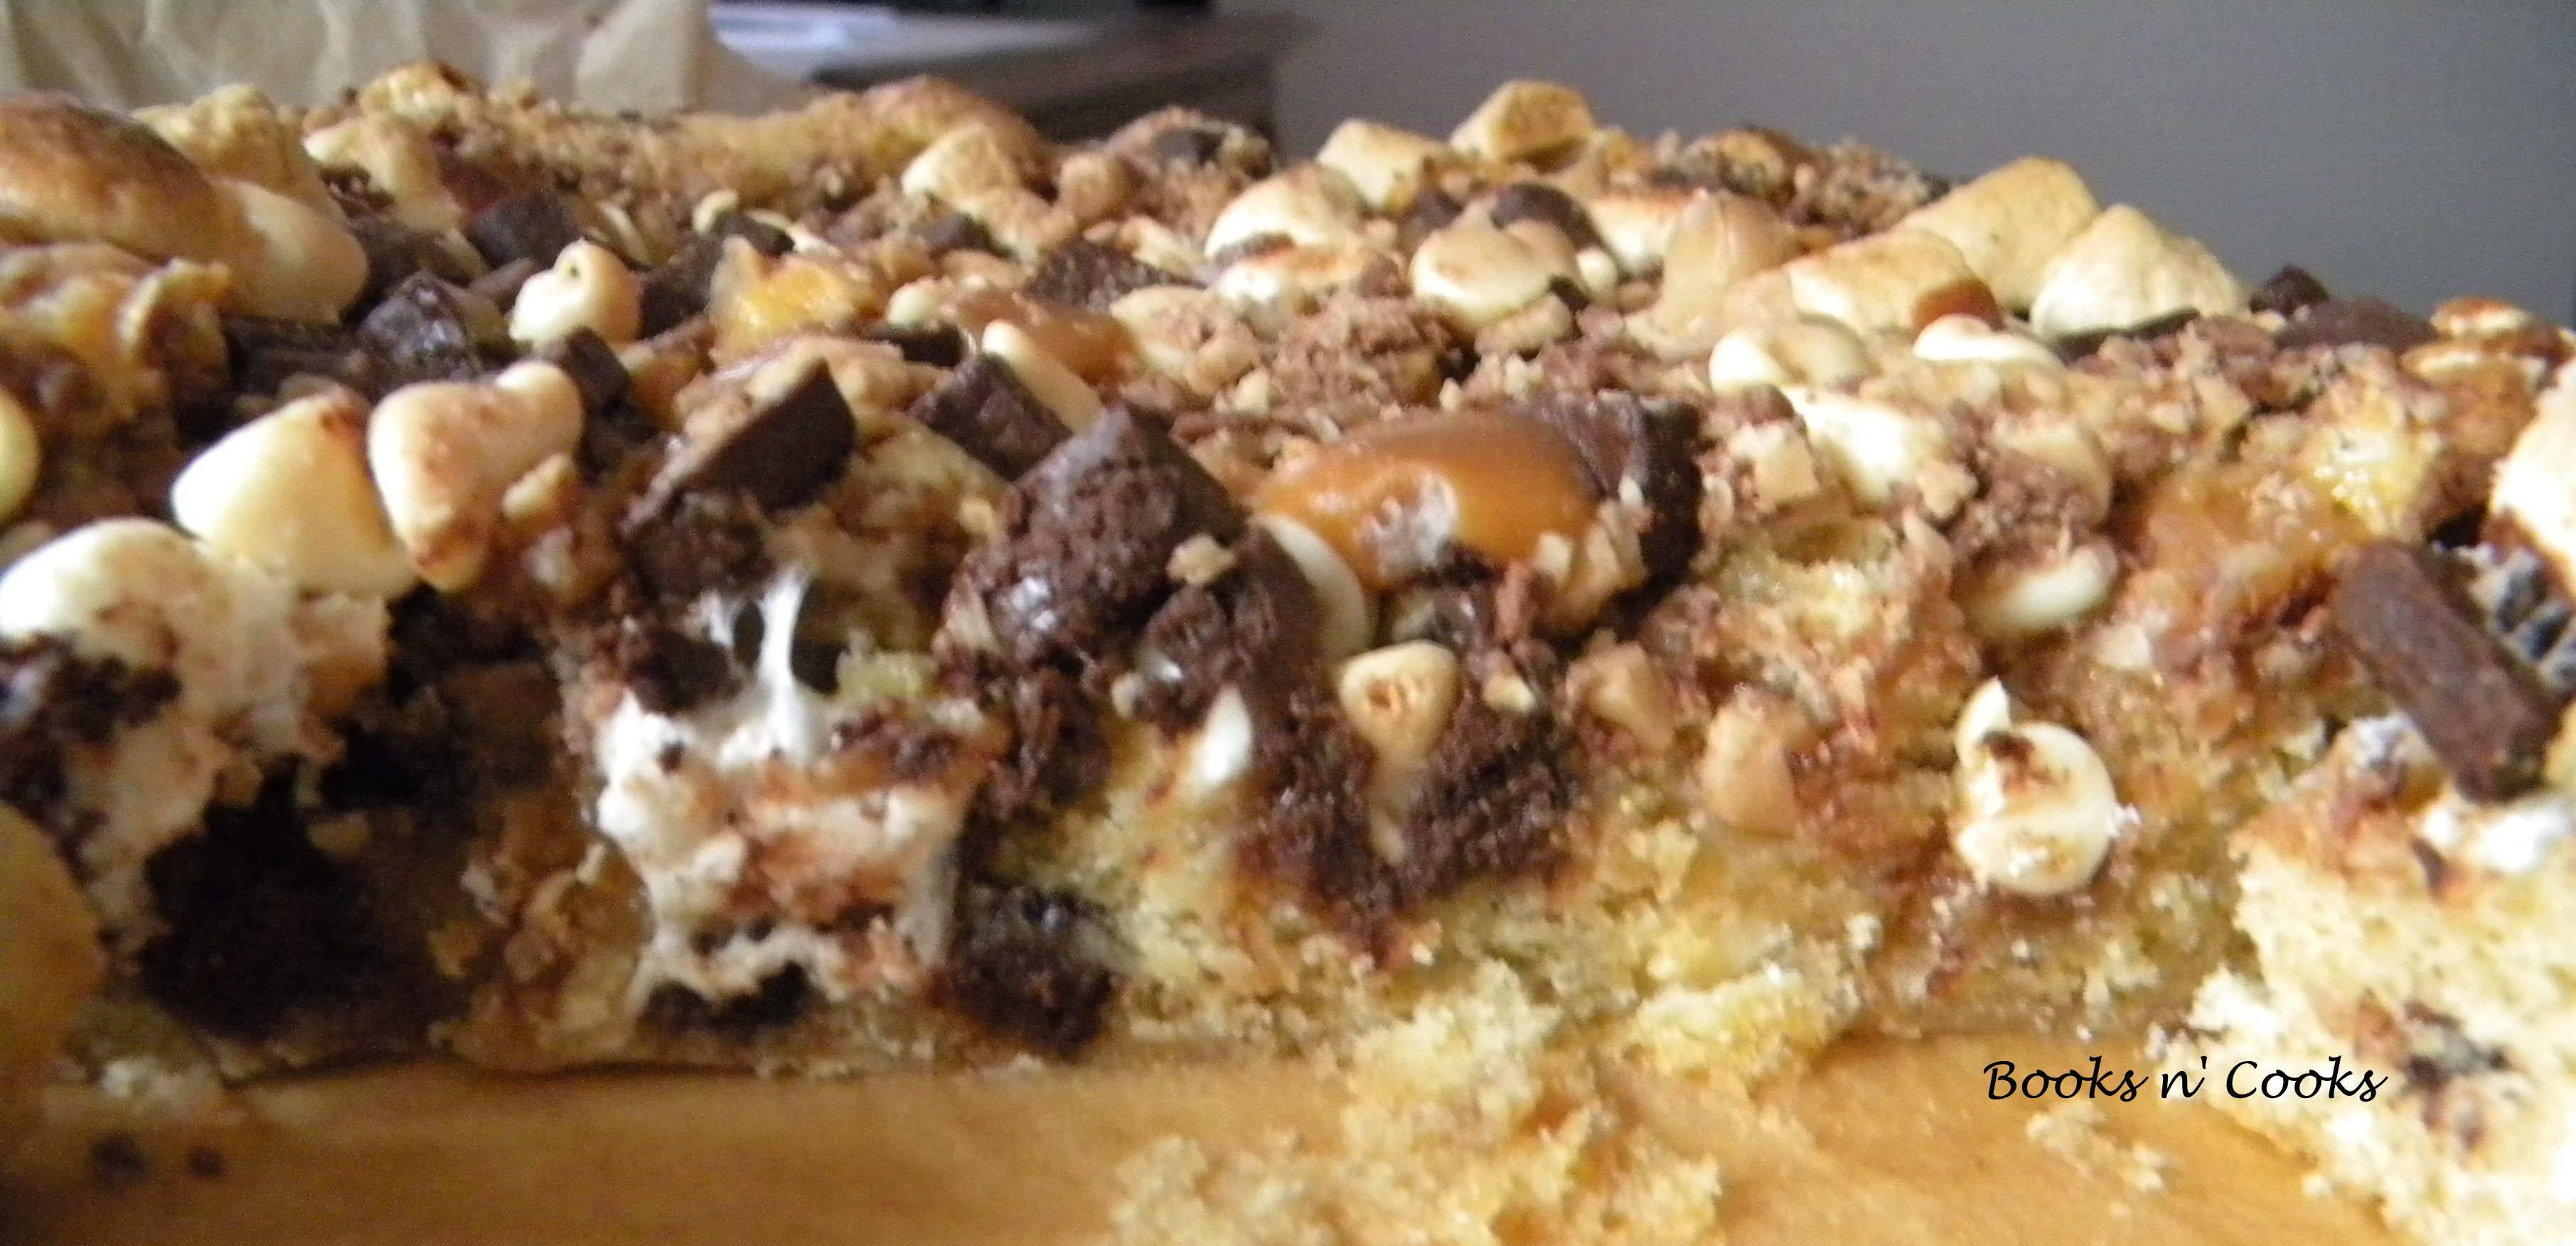
When I saw this recipe on Beantown Baker, I knew I had to give it a shot. This is a great recipe for using up those random baking items in the cabinet. The only change I’d make in the future, would probably be to skip the caramel pieces – when solidified, they were a bit tougher to chew through. Feel free to throw in butterscotch or peanut butter chips or nuts instead of or in different proportions to the mix-ins listed below.

Again, not the prettiest of photos (I’ve since learned to use my camera a bit better) but I promise good reviews.

Rocky Ledge Bars

Adapted from Beantown Baker

Originally from Martha Stewart

Makes 36 bars

Ingredients:

  • 1 stick unsalted butter, at room temperature
  • 2 1/4 c. all-purpose flour
  • 2 1/4 tsp. baking powder
  • 1 tsp. salt
  • 1 1/2 c. brown sugar
  • 3 eggs
  • 1 tsp. vanilla extract
  • 1 c. mini marshmallows
  • 1/2 c. semi-sweet chocolate chips
  • 1 c. white chocolate chips
  • 18 squares individually wrapped caramel, chopped into quarters
  • 1 1/2 c. toffee chips

Preheat oven to 350F. Butter a 9×13 baking dish. Lay a piece of parchment paper in dish, covering the bottom with a bit overhanging the sides. Butter parchment.

In a medium bowl, combine marshmallows, chocolate chips, white chocolate chips, caramel, and toffee. Mix together and set aside.

In a stand mixer fitted with the paddle attachment, beat butter and sugar until light and fluffy, about 2 minutes.

Add eggs and vanilla, beating until combined.

Sift in flour, baking powder, and salt, beating until combined.

Remove bowl from the mixer and fold in half of the mix-ins – the marshmallows, chocolate chips, caramel and toffee.

Pour batter into prepared pan and spread evenly. Sprinkle remaining mix-ins on top of the batter so that the top is covered.

Bake about 35 minutes, until the top is golden brown and  a toothpick inserted into the center comes out clean.

Using the parchment overhang, remove bars from plan and place on a wire rack. Allow to cool completely.

The directions also said once cooled, to chill on a baking sheet in the fridge until set, about 30 minutes.  I omitted this step and the bars seemed to come out fine.

With a serrated knife, cut into desired shapes and sizes.

Store in an airtight container for up to a week.